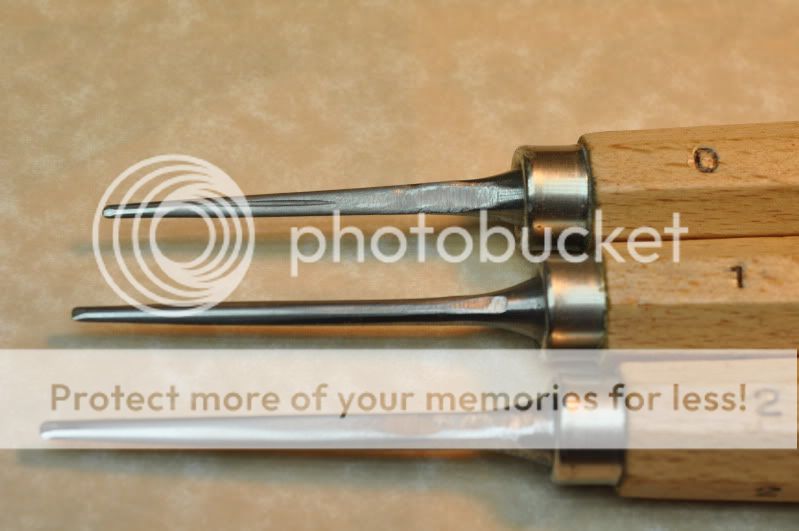
This tutorial explains how I do inletting. This pretty much how I inlet all the parts on the gun the only difference is how deep the inlet is.It also shows the chisels that I use to stamp in the inlet, the widest chisel in the photo being about 1/8" wide. There are no commercial sources for these tools but they are easily made. The same tools can be used to outline carving and installing silver wire.
Lay out you inlay on your metal.
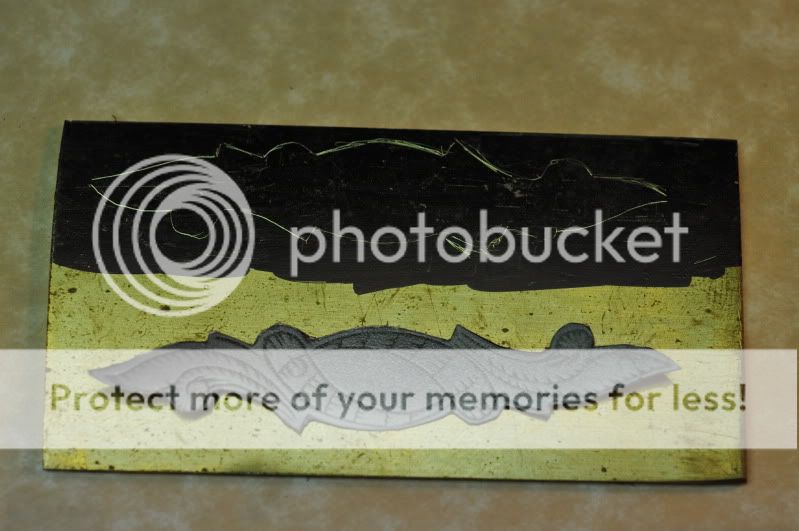
Clean up your inlay,file a slight bevel,curve the inlay to the shape of your stock(I use various gouge cuts in a piece of hard maple)and secure the inlay to the stock.
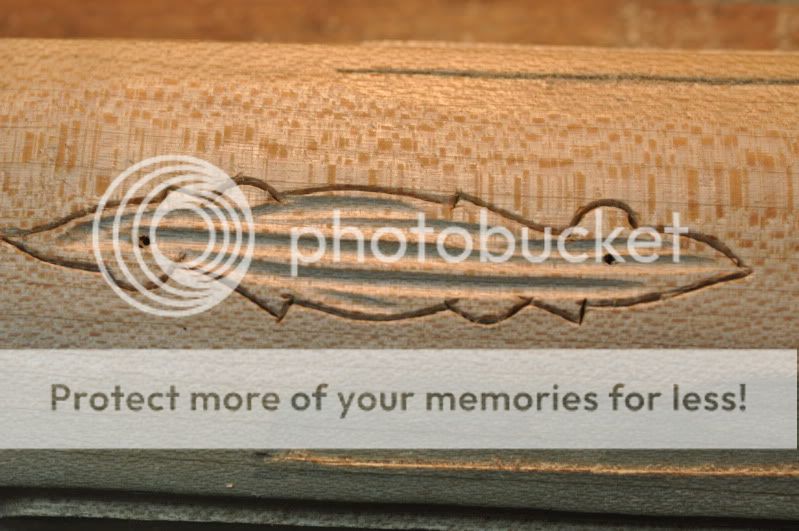
Scribe around the inlay with an exacto knife.

I then use a several lense shaped chisels to outline the inlay.I set the edge of the chisel in the knife cut and stamp all around the inlay.

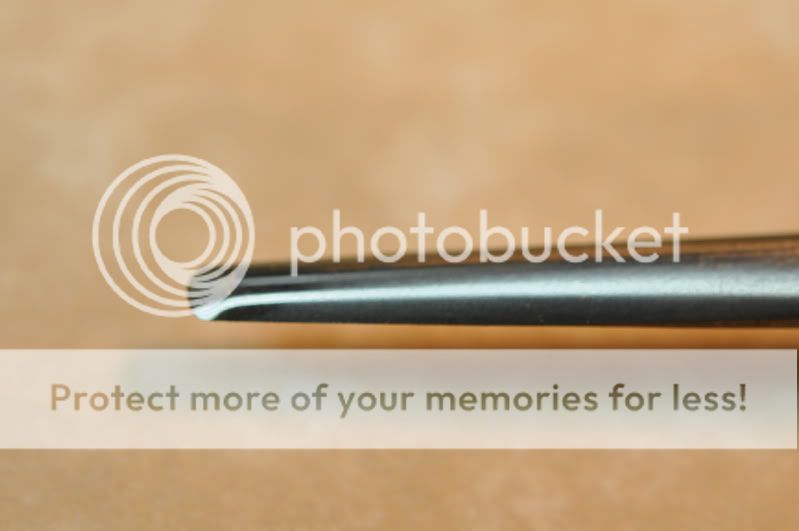
I then use a small gouge to relieve the wood inside the inlet.This decreases the resistance when I go to the flat chisel and it sets a uniform depth for the inlet
Since I do my engraving on the gun I spot the inlet in with spotting compound so I'm sure the inlay is completely supported.

Inlet ready for inlay.

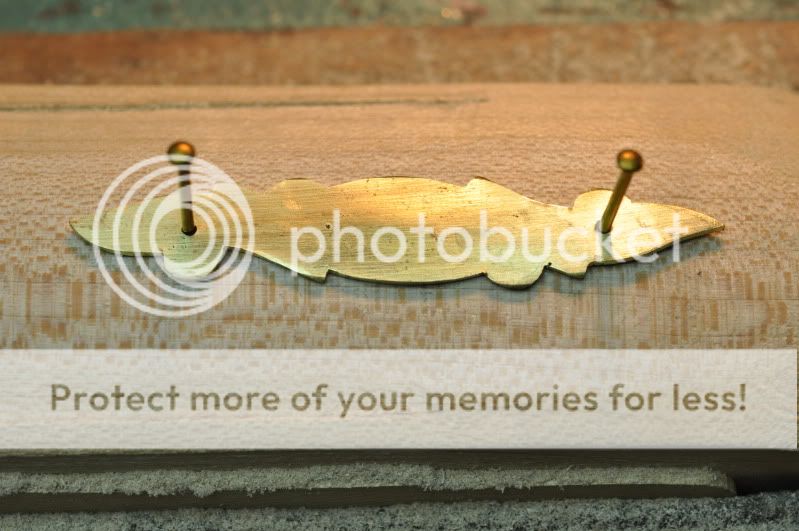
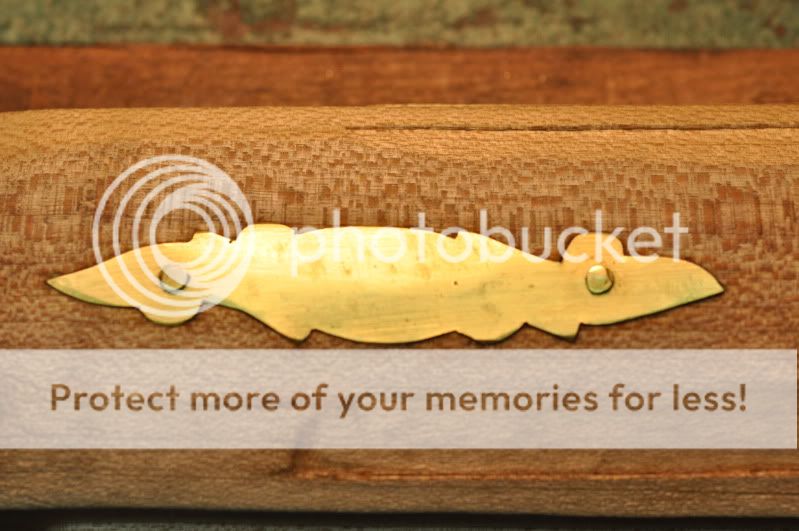
Inlay nailed home.
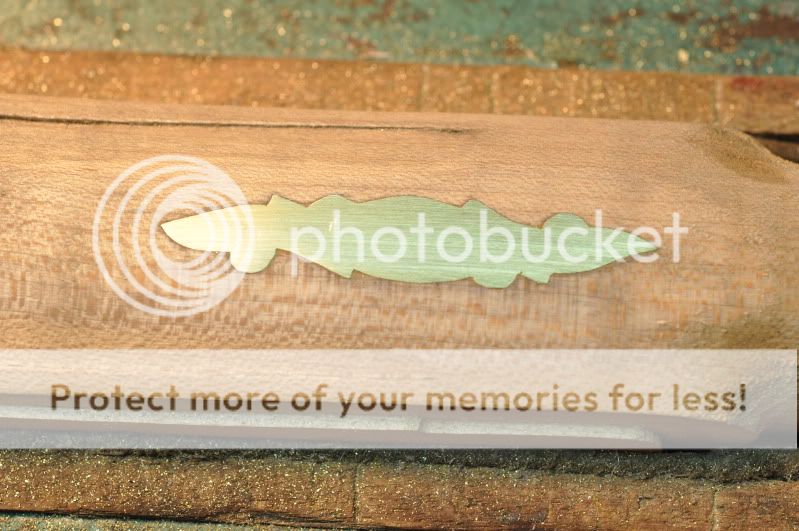
Inlay ready for engraving.
Done


Hope this helps you out!!
Mitch Yates


