I thought I'd give stabbing a try, as I've never done a whole design with this method.
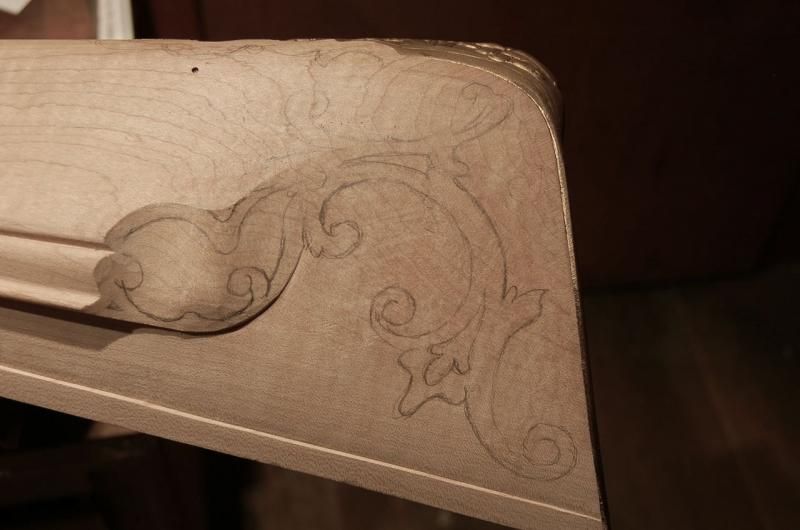
The first thing you gotta do before stabbing the carving is to have your drawing EXACTLY what you want. Once stabbed in, the design is committed. I spent a lot of time drawing, erasing, drawing again. I even sent pictures to friends who commented on 'this or that might look better if'.... this is really helpful.
Just so you know, this is not my invention, nor is this the only way to stab your design in. There is a classic method of using gouges of proper curvature to stab the design in. That is for another day. This tutorial is for little stamping tools that can be made cheaply and easily in tyour own shop, out of common materials, such as spring steel for the blades and wooden handles.
I made up some tools out of spring steel, old gravers, whatever happens to be about the right size. These are round ended tools:
1) the biggest, on the left, is 1/8" wide, is beveled on BOTH faces, sharp as a razor on the edge.
2) the middle tool is FLAT on one side, rounded on the other, like a half-round, about 3/32 wide at the tip. This enables one to make pretty tight radius curves. The flat side MUST be toward the inside of the curve.
3)The small tool on the right is about 1/16 wide. Flat on one side, round on the other.
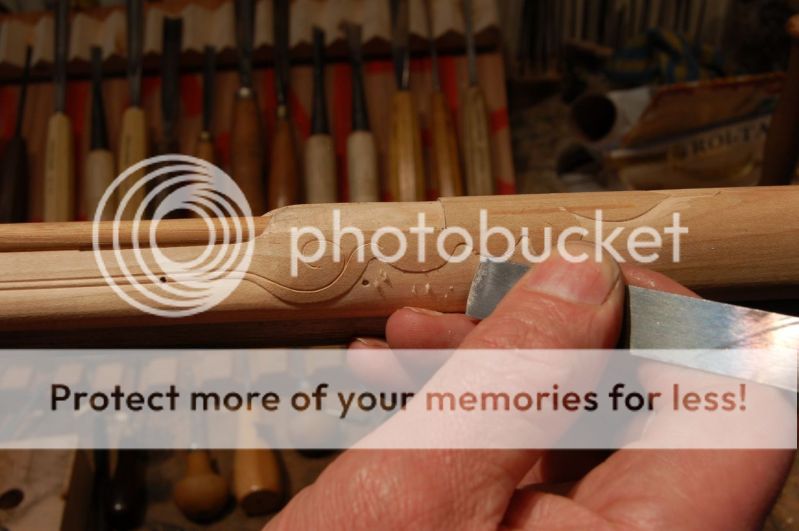
The marks in the wood: top line is the tools STAMPED in with a mallet. The bottom marks are PUSH and ROLL with same tools.

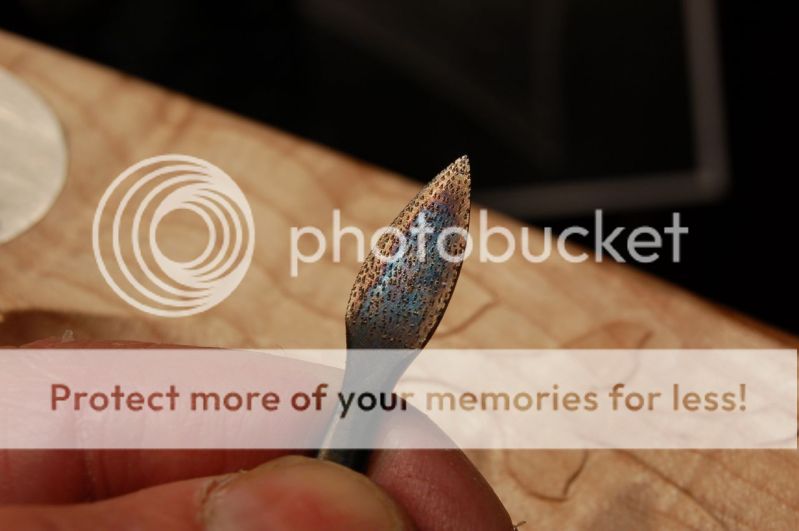
As seen looking at the edge of the tool, you can see how thin I've ground them down.

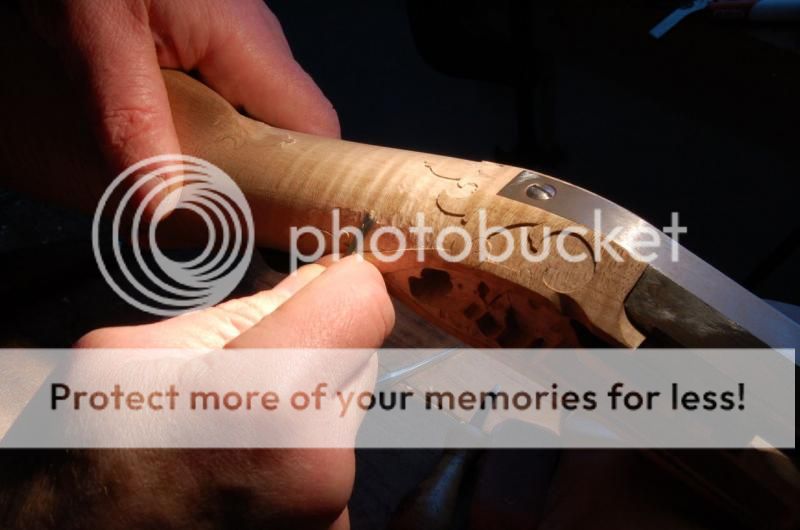
Instead of tapping the tools in, I push down and roll the tool in the direction I want it to travel, steering while I roll. I can go over this as many times as I like to deepen the cut. I can tap the tools in, too, but the rolling allows me to follow a line better; it's not quite so 'stepped'.

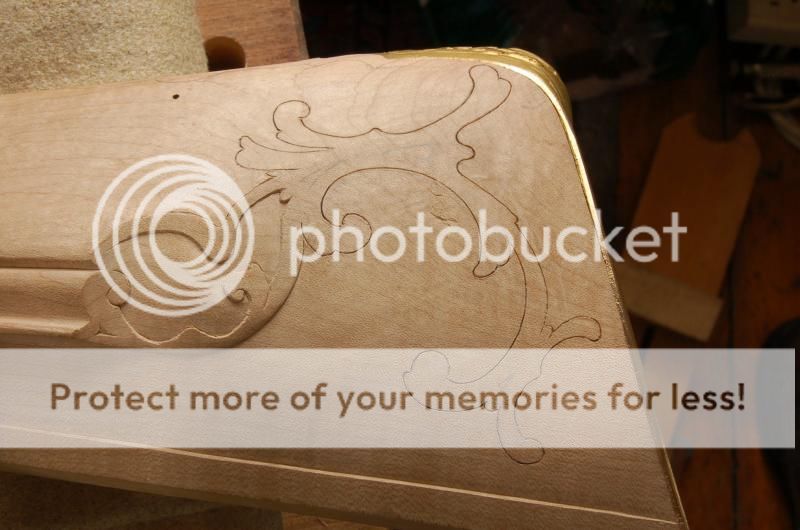
Completed stabbing. Now the background must be removed, and then the raised relief must be detailed. But that is for another day....
Here is a sample photo of backgrounding for relief carving. I used a small fishtail gouge, maybe a #3 sweep x 12 mm wide, which is shallow curvature, to cut away the background up to the stabbed lines.
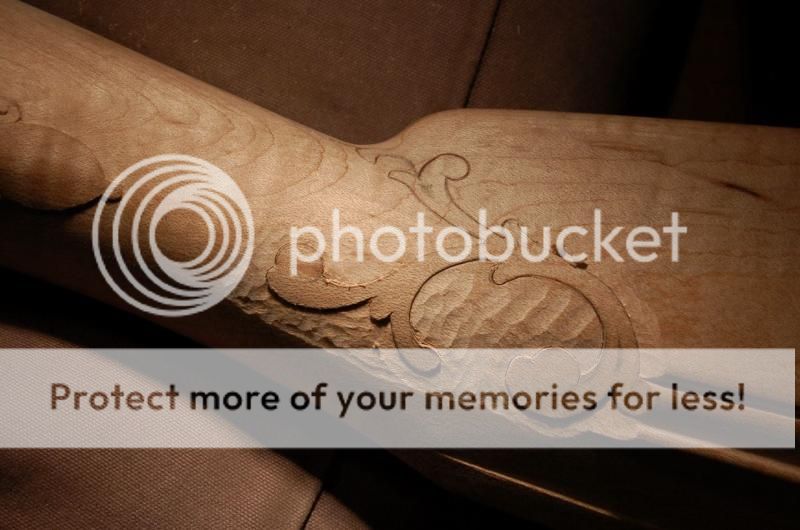
Another area, being pared down with a tiny #3 sweep x 5mm wide gouge. The carving has to be faired out for a good inch on either side of the carving, then smoothed. Just like a butt joint in drywall, if you want it to be invisible, it's got to be faired way out on either side of the joint.
Once sufficiently cut down, I switch to a small rasp to flatten out the peaks and valleys of the gouging. The small pointed small rasp is about the most favorite tool I have. I made it just on a lark, and it's an incredible wee beastie. Commercial riffler files/rasps will work well to flatten the gouged areas. You can take a riffler you like, and grind the tool to a point for a more useful shape.
THEN I scrape the rasped surface smooth. Turn your piece in low angling light so your eye can pick up high and low spots, inconsistencies of contour, etc. (not same gun as above)