Guys,
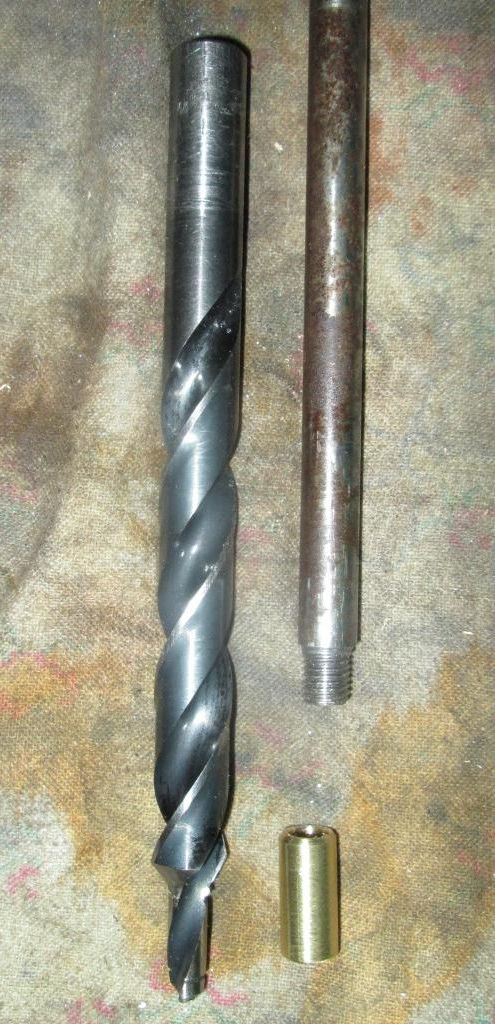
Here is a method to re-use an old wrought iron barrel on a new made gun. This starts with the purchase of an old barrel, in this case 15/16 straight, 39 long, 0.38 cal. One of those awful nose heavy barrels with a rotten bore. I drill out the bore to 1/2 inch using a modern pilot drill. With this tool you machine a pilot guide out of brass that acts to keep the drill bit on center as you drill out the old bore. The brass pilot has a short life, I used up three in drilling out this one. The rear end of the drill is threaded 5/16 UNF for a series of drill extension rods. Don't try to drill out a barrel bore with regular, non-piloted drills, it doesn't work.

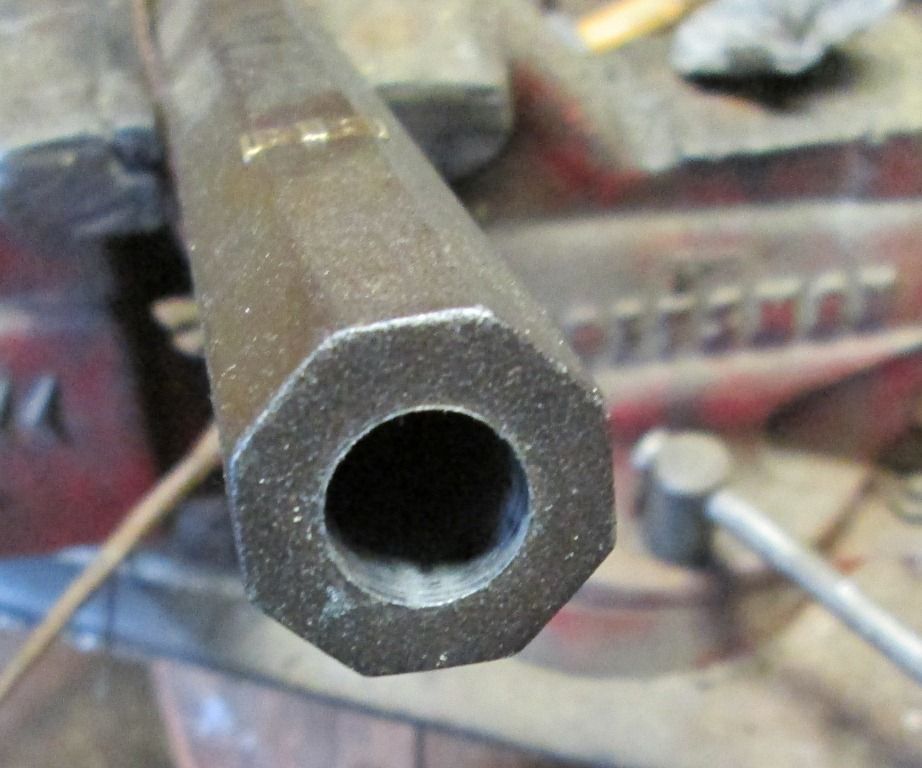
I did not wish to use the barrel at 0.50 caliber, so I will install a liner. In this case a piece of 0.50 x 0.049 wall carbon steel tubing, seamless. This gives a bore of 0.402. Now, the 1/2 tube will not fit into a 1/2 hole, there must be a tiny bit of clearance. I open the hole up a bit with an 18th c tool called an armory reamer. After a few passes with the armory reamer the tube will side through the barrel bore.

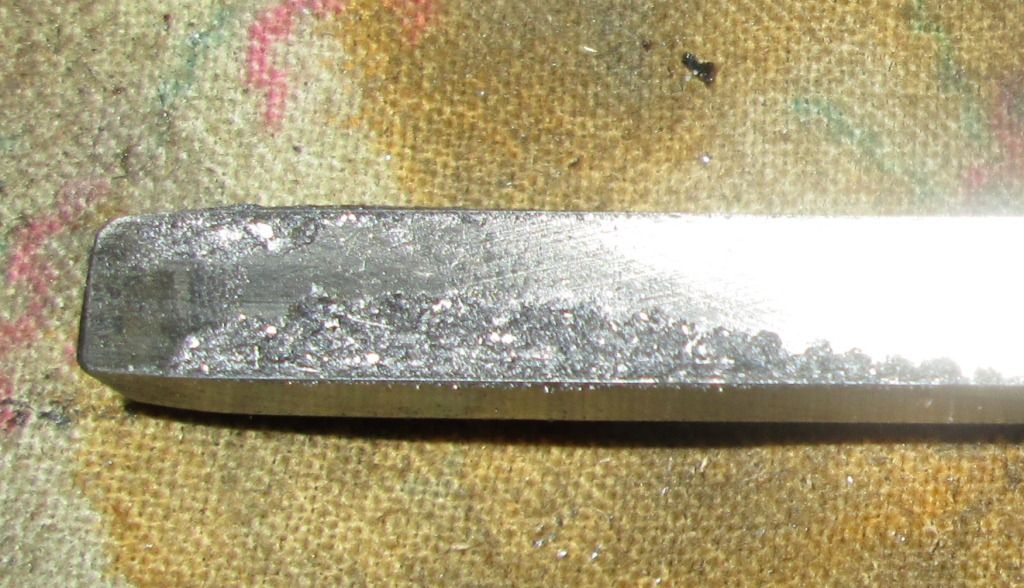
The reamer just cuts the high parts of the drilled bore roughness. Here is a photo showing the fine shavings from a pass through the bore.
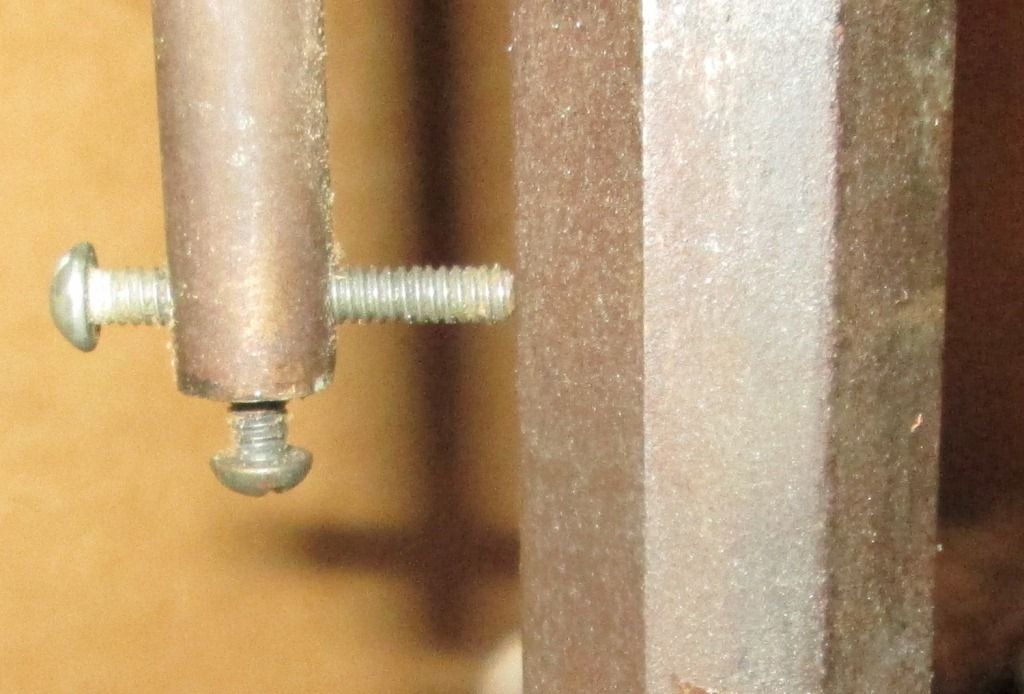
Next, I want to make the barrel to a swamped shape. I use the bore centering tool, see the tutorial section. Just at the waist area of the swamp the bore is off center by about one thread of the measurement screw. Since the screw is #6-32 this means the bore is off center by 0.03 inches. When grinding & filing the waist of the swamp I take more off one side to bring the bore to true center in the waist.
I then grind & file the swamp waist area, not really a tough job as I use a 9" angle head grinder, it surely makes the old wrought iron disappear quickly ( and a lot of sparks! ).
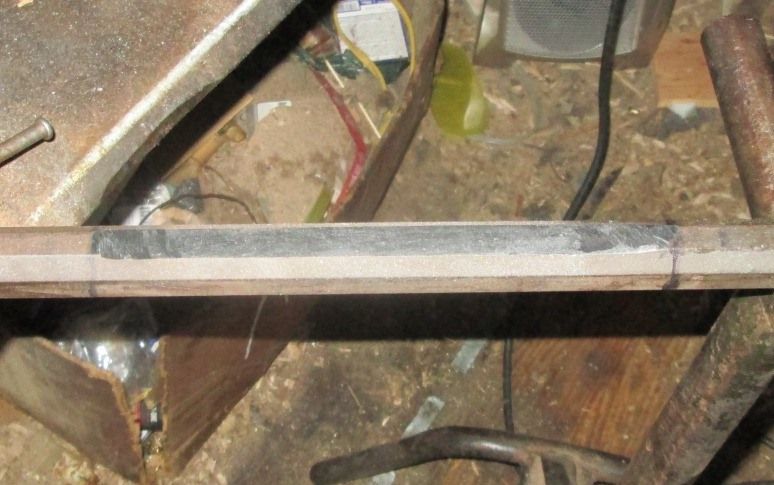
Here is a photo of the filed metal surface. You can see the very fine filaments of slag, this is a nice piece of wrought iron.
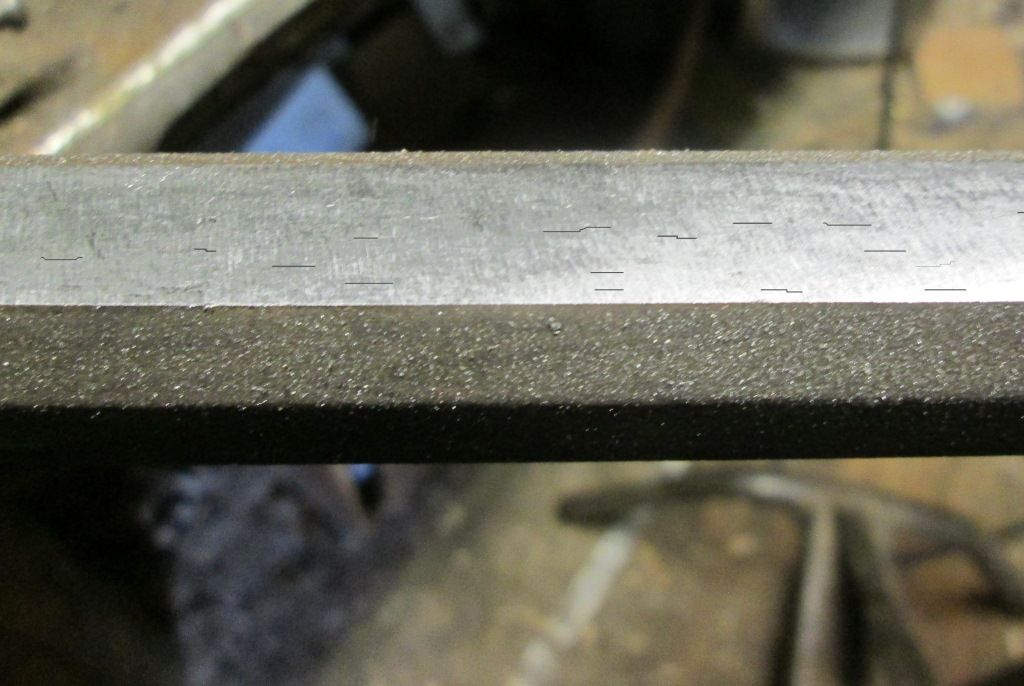
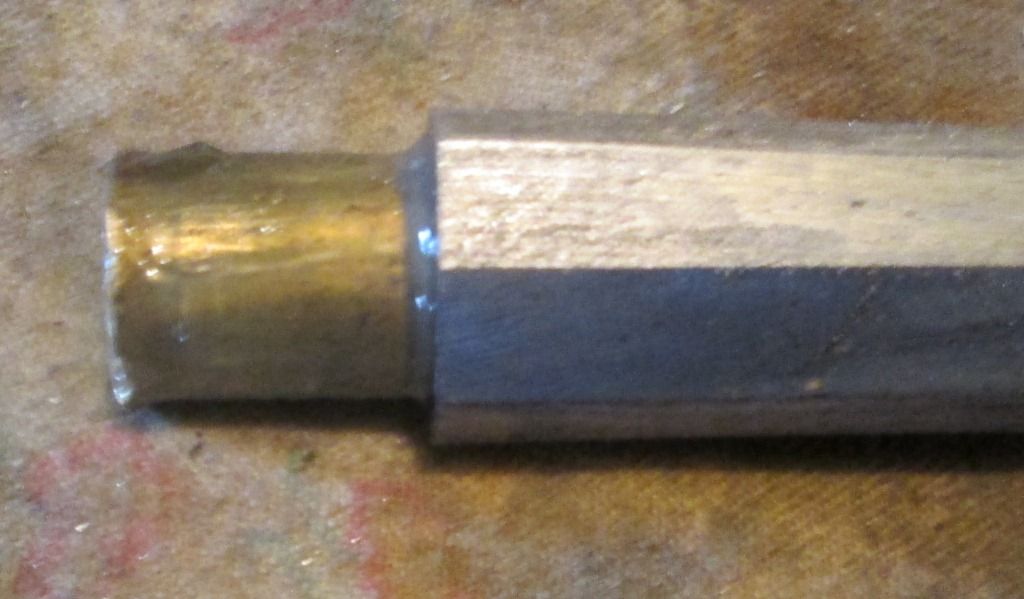
Now I grind & file the rest of the barrel to give an "A" profile. Breech 0.940, waist 0.702, muzzle 0.812. Here is a photo of the muzzle end, ready for the liner.
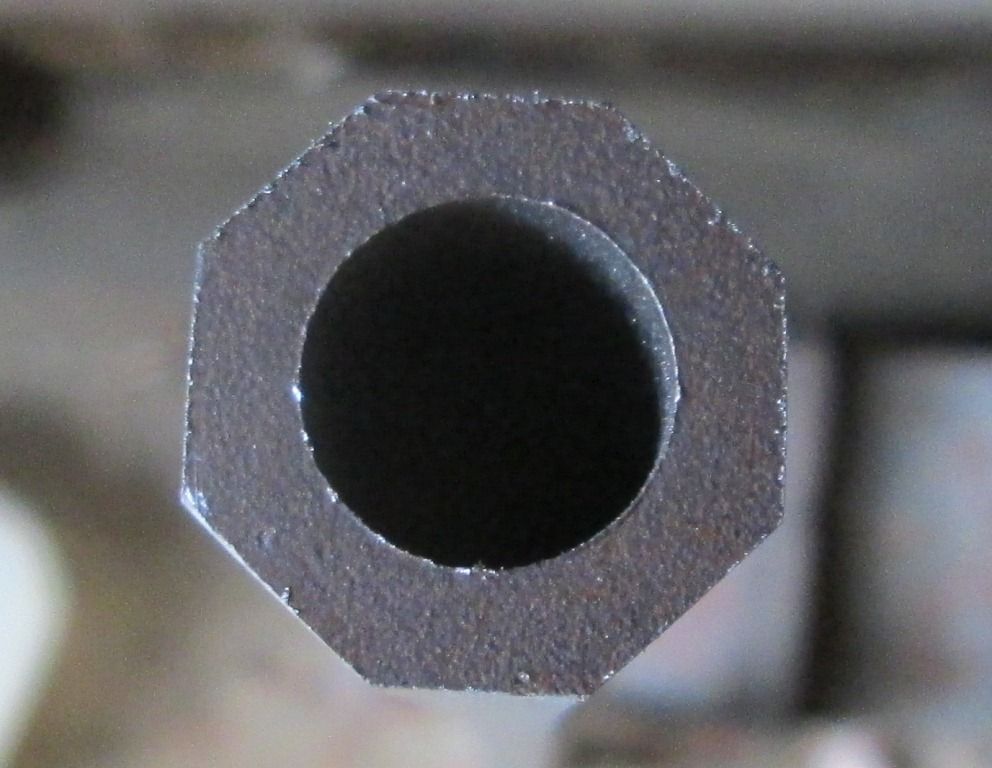
Here is the newly swamped barrel and the liner tube.

The breech end of the liner tube gets a wood stopper and the muzzle end gets a brass driver head.
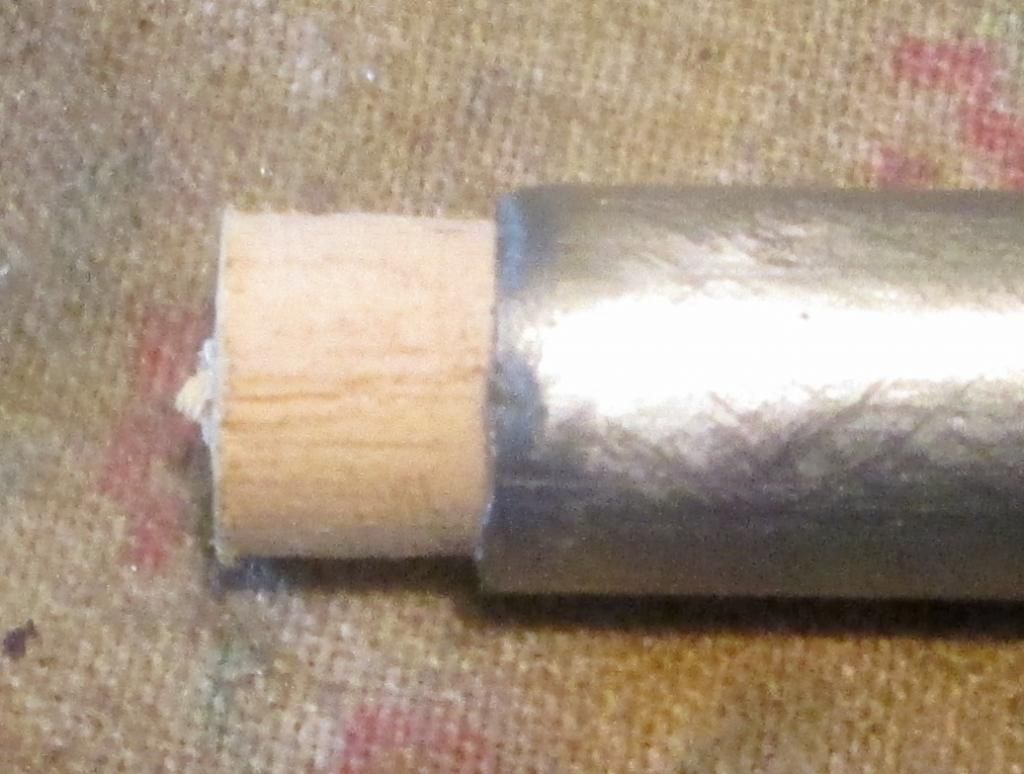
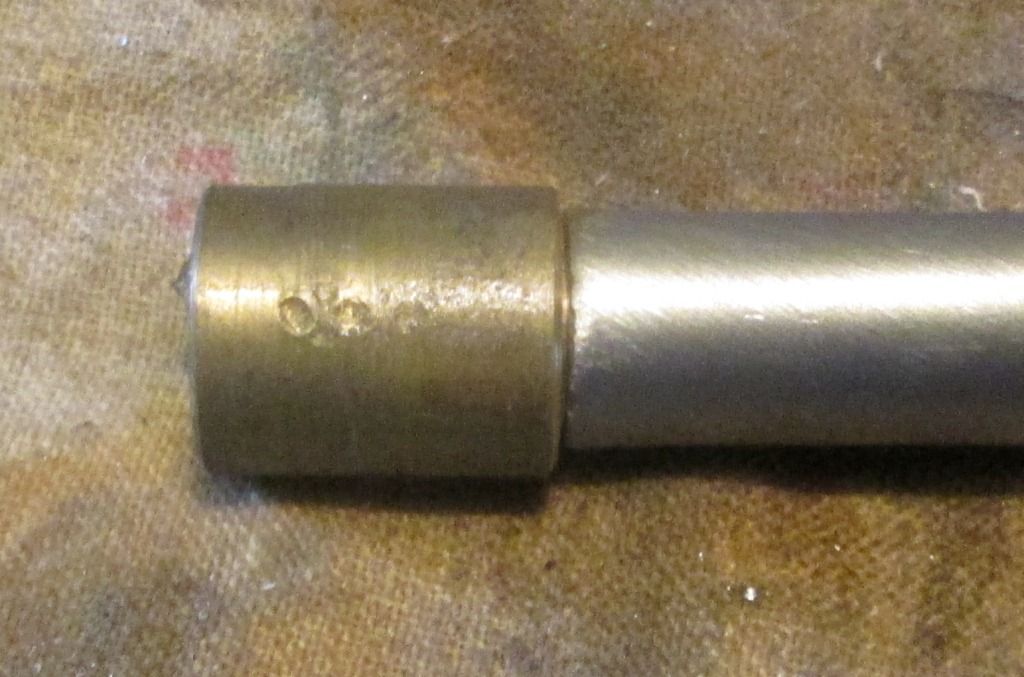
The wood stopper is just to keep epoxy out of the bore. The brass driver head has a tapered pin that has a maximum O.D. of 0.412 to a shoulder. The 0.412 pin driven into the 0.402 liner tube bore gives a very slight flare to the liner tube end.
Now using a lot of slow setting epoxy, the liner is pushed & driven into the barrel bore. Do not use quick set epoxy. I push a dollop or wad of epoxy through the bore with the wood stopper end and keep a good amount on the liner tube O.D. as it goes in. This is a messy job! Here is a photo of the brass driver head as it reaches the muzzle at the end of the installation. The slight flare completely eliminates any visible gap between the liner tube and the wrought iron barrel, you can not see the liner.
Here is a photo of the finished muzzle, there is only a tiny color difference between the steel liner tube and the wrought iron barrel.
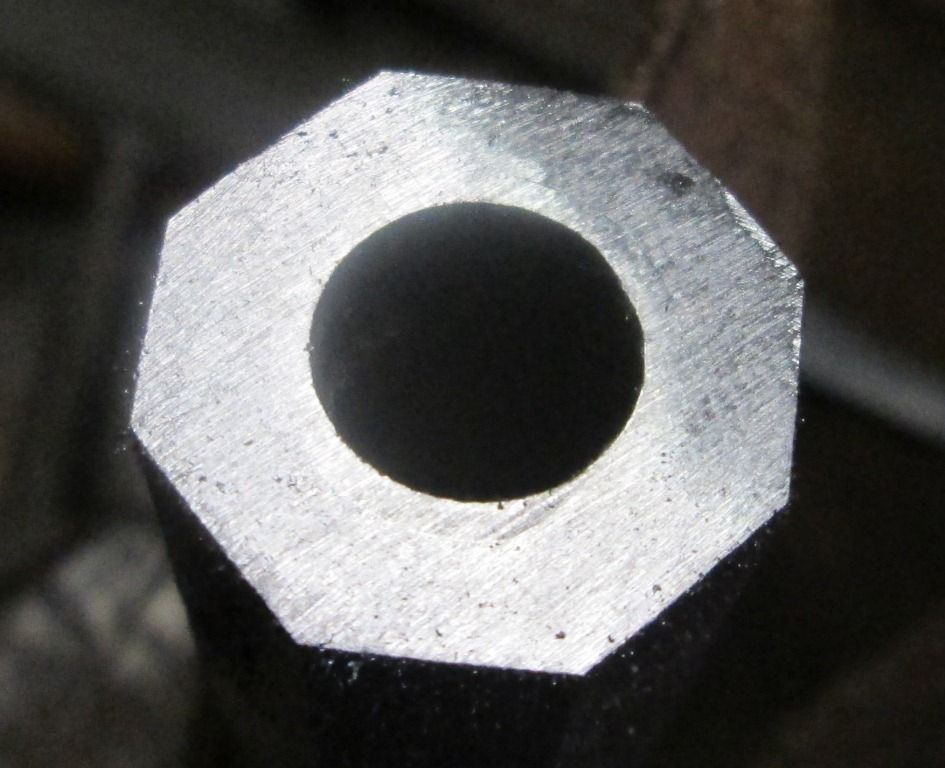
Now I have a "A" profile swamped barrel in the correct material, wrought iron. The cost is very low, but it is a good bit of work. I will use the barrel as a show-n-tell on my rifling machine next season.
Jim

