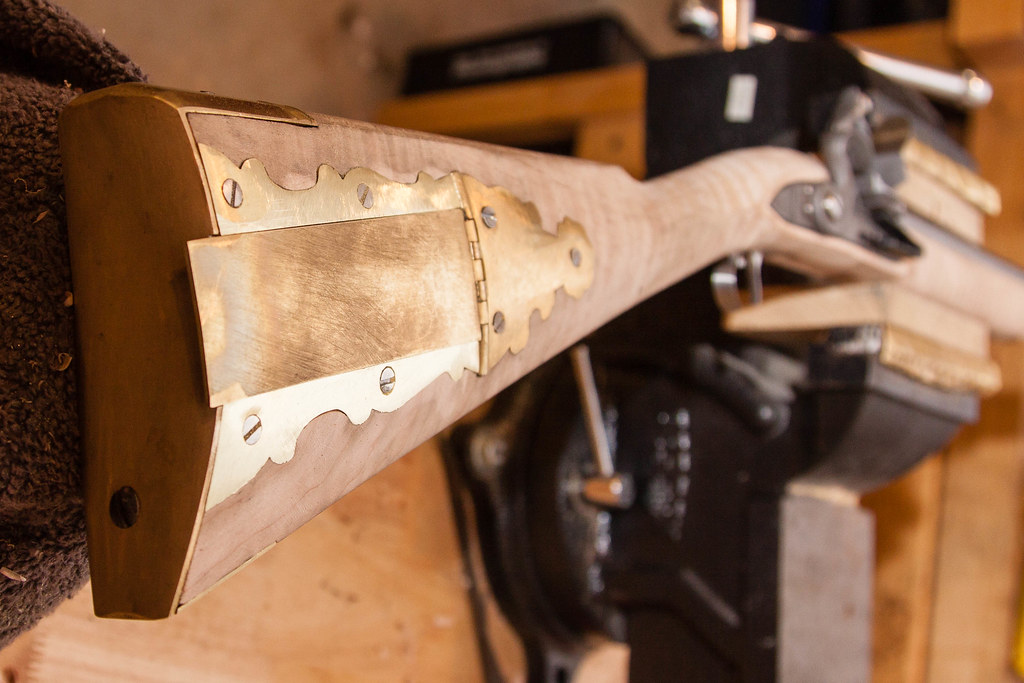
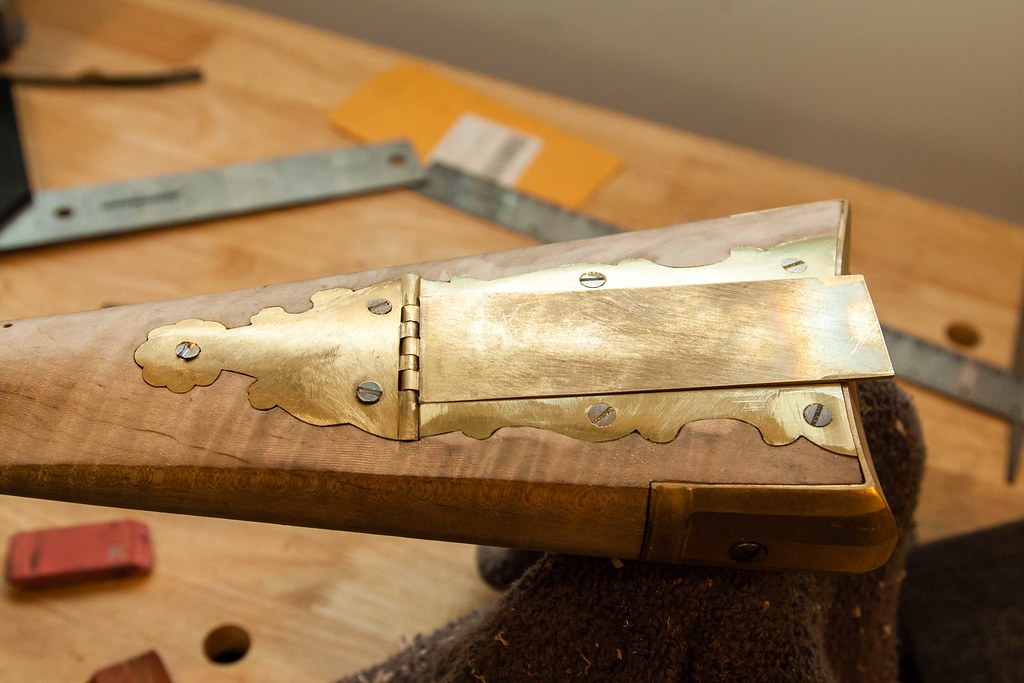
The patch box is inlet now. Here are a few photos:
 IMG_3653
 by
chowmif16, on Flickr
 IMG_3654
 by
chowmif16, on Flickr
I have not drilled and gouged out the patch box cavity or done anything with the release mechanism yet. Obviously, I need to trim and file the lid to the butt plate profile as well.
I have done some preliminary filing of the brass to match the wood, but there is a ways to go on that.
I'm pretty happy with it so far. This is my first patch box, and I was anticipating a major disaster. No disaster as of yet....
Here are a few lessons learned:
The form I used to bend the patch box lid was not uniform enough. Additionally, when I was filing some of the knuckles, too much of the lid was protruding out of the vise and I managed to bend the lid out of true when the file caught an edge. It's not quite straight anymore. I corrected some of that back in the bending form, but not all of it. I will likely have to file it down such that you won't notice on the outside face, but it will be obvious when the patch box is open.
I miss-measured the width of the lid from the blown-up photos I had. It was hard to tell which line was the edge of the lid, and which was an engraved line. The key to seeing that is to look at the cut-out in the butt plate on the picture. Had I done that, I would have got it right. In the end, the lid is about 1/8" too wide.
I realized this after I inlet the side plates. So, I had to file down the inside edges of the side plates to allow the lid to close. In the end, the patchbox is the right overall size, just mis-proportioned between the lid and side plates.
My inletting still needs work. Yup, I know that. I also did not screw down the first sideplate before I drew the outline and inlet it. That was a mistake. For the second one, I drilled the holes in the sideplate and stock, and screwed it down, then drew the outline for stabbing it in. That worked much better.
You can see a gap in the butt plate inlet. I inlet the butt plate quite some time ago, but if memory serves, it is an issue with the countersink for the butt plate return screw. It matches up very well without the screw in, and also did so before I countersunk that hole. I'll work on that part as well.
I didn't quite get the inlet of the hinge even. The bottom of the hinge protrudes a bit more from the stock than does the top of the hinge. I will file a bit off to reduce the effect, but it will always show.
I had initially intended to use Jacob Dickert's solution (as stated in Grenville) for the front portion of the sideplate where it meets the hinge. In that solution, you make a 90 degree bend down, and then curve an extension forward to go under the hinge. That holds the front end of the sideplate down. I chose not to do that because I thought it would be difficult to get a clean inlet, starting with that portion that extends down into the stock.
So, I used another technique from Grenville, which is put two 45 degree bevels on the front edge of the sideplate, making a point. I then engraved and filed a 90 degree trough in the back end of the hinge knuckle for the side plate to mate into. I like that technique. I did a better job on the lower sideplate than I did on the upper sideplate.
The side plates are flat pieces of brass, not curved in any way to match the profile of the stock. The sheet brass was pretty thick, about .060". There isn't much curve on those portions of the stock, but there is a little. My solution was to leave a little bit proud of the wood, and I am filing the sideplates to create a little bit of a curve on them.
That's about all I can think of. My biggest lesson was that in order to learn, I just needed to get in there and do it. I didn't do a great job, but the important part is that I did it, and learned from it.
Cheers,
Norm

