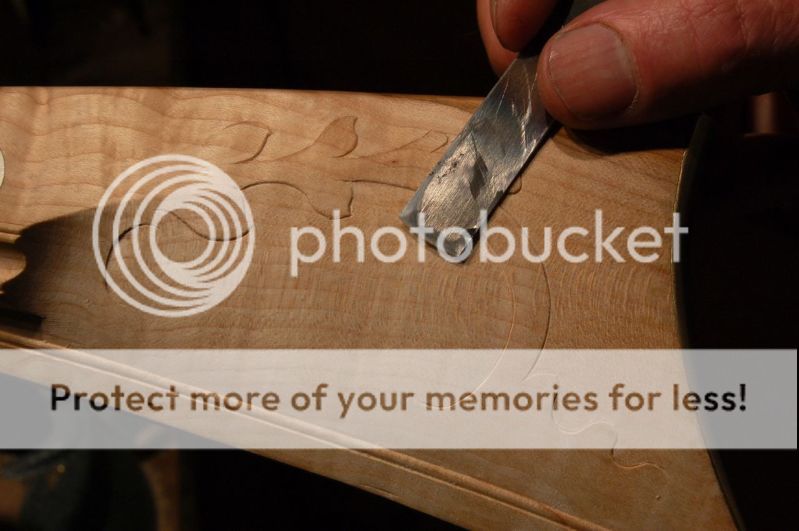
Maybe this is useful to you, maybe not, but it's how I do this kind of carving. Everyone has a slightly different way of doing things, so certainly take what you like from this, and leave the rest.
I drew on the other side of the stock, and made a tracing paper pattern to make a rubbing on this side of the stock.

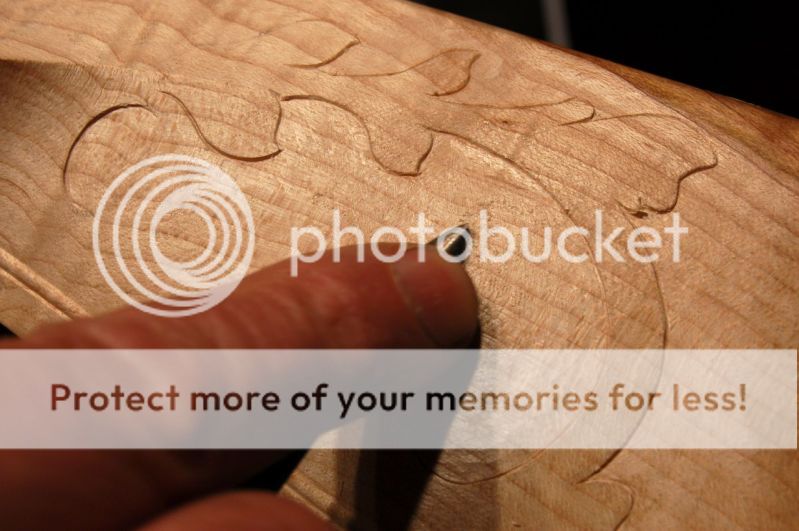
I hit the gullies with a gouge to stab the curve.

A fine parting tool goes around all the other curves. The one illustrated is a Pfiel 16/1. The depth of cut has to be paid careful attention to as one goes up and over the curved surface. Watch that little curl coming out of the gouge, it will tell you if you've got consistent depth. You can certainly stab this design instead of using the parting tool, and this would avoid the depth of cut issues. Where I bought the Pfiel 16/1 parting tool:
http://www.woodcarvingbiz.com/V_Parting.htm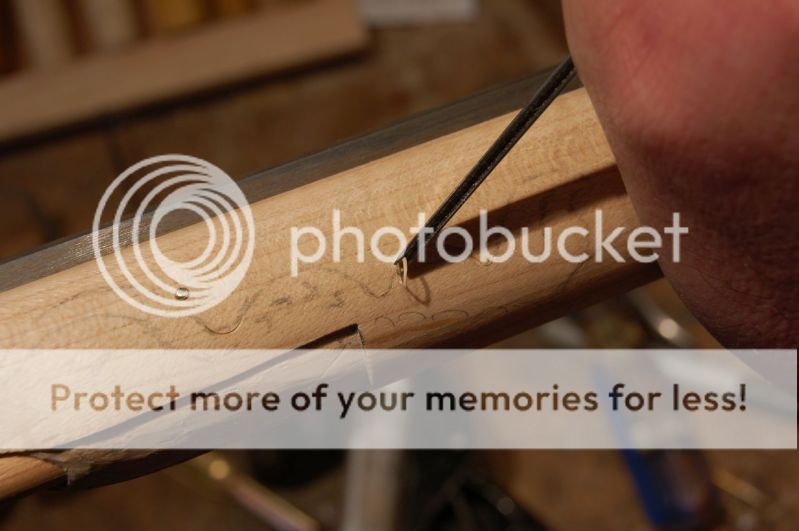
A small gouge makes a nice scoop detail at the junction of leaves.

A thin flat chisel pares the relief very nicely.
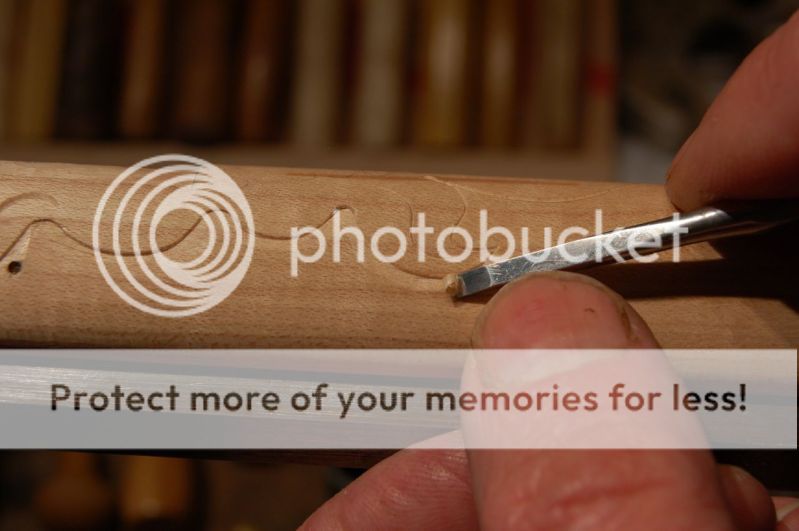
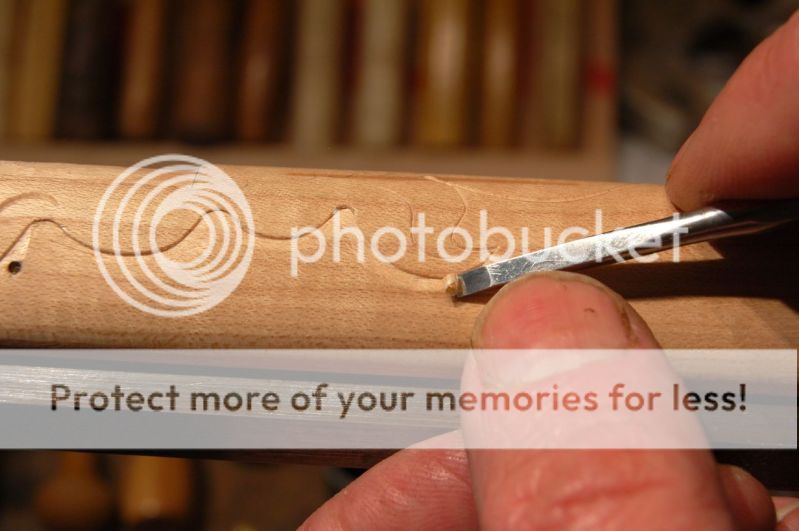
A very sharp scraper makes quick work of leveling and working up to the relief. Note that the relief is very shallow, maybe .02" at most.

The scraper is very useful for shaping the transitions. Just roll the stock in the light, and you will see where material needs to come off.

I keep the ramrod in the stock so I don't mess up the knife edge of the RR channel and pipe inlet.
Apologies if some of this is repetive, but there are a couple of different tools and techniques.
Behind the cheek design pencilled in, in the style of Neihart.

Take a parting tool and cut along the lines. I lay the tool over on its side, with one tool lip laid down on the side of the line that gets relieved. The other lip stands fairly vertical. This tool is a 90 Vee. You can also stab this design in, if that is your preference.

When you've cut everything that you plan on, erase all the pencil marks. Then you can see if you have elbows or flat spots in your curves. You can also see the faceted cuts I made with the parting tool laid over toward the relief side of the line.

Relieve up to the line, using the side of the cut line as a rest for the side of the chisel. This is from the forestock, but same process. A fishtail gouge is really neat for this work, too. A #3 sweep, 6 to 10 mm wide is ideal.
Blend the background down with a flattening rasp. Fair it out as far as practical, and tip the stock in the light to make sure the divots and bumps are all flattened.
I made this rasp. Takes a couple of hours to do so, but it saves centuries of leveling with a scraper. This tool is very aggressive, with pointy little teeth like a Jack Russel, so take it easy with the pressure. Make the shape you want, then raise little teeth with a graver or small chisel. Then harden. Use spring steel or 0-1. This one is low carbon steel, case hardened. Pain in the butt to go thru that process for one tool.

View of scraper I use. 1/32 thick 0-1 tool steel. I hardened it and drew it back to spring temper. Lately I have been simply grinding the end square and sides flat, ie: not rolling a burr.
