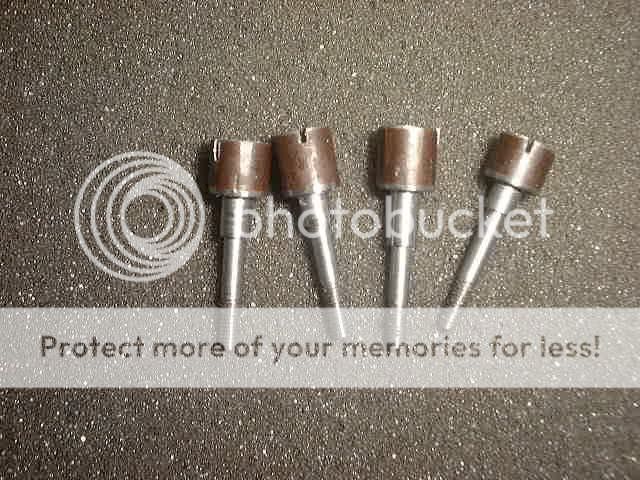
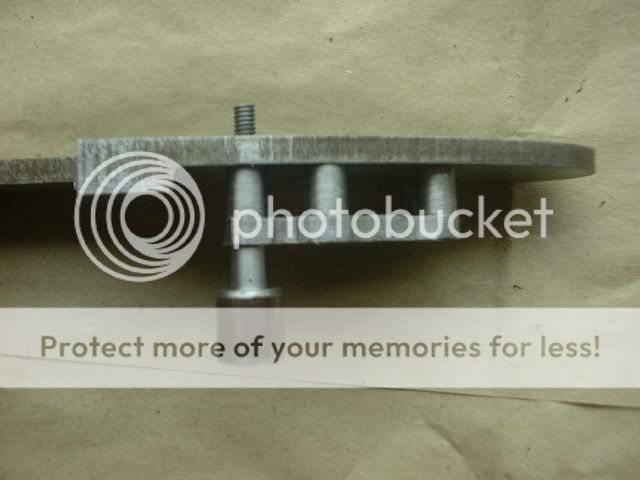
Here are all four bridal screws. Notice that I left a big hunk on top and slotted the end. In the second picture the screws are in their respective positions in the bridal. Also notice the shank of the screws show at the bottom of the bridal feet and will need to be threaded slightly more.
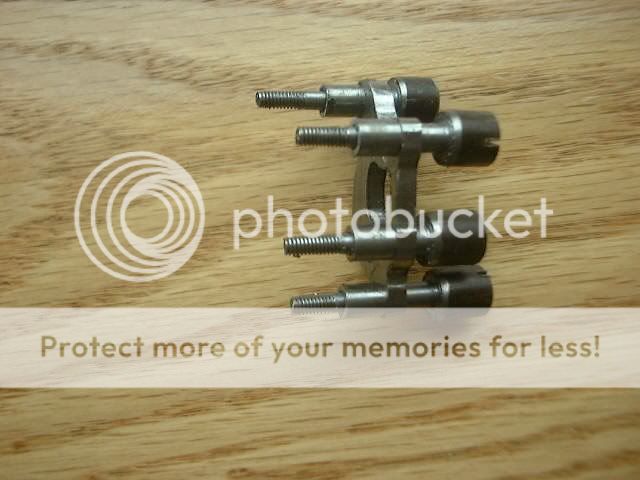
Slighly out of focus, but with the screw drawn up tight, there is a gap between the bottom of the bridal foot and the lockplate.

Here are the bridal screws again. Notice that I put some file slashes on the shank of the screws. All of the antique Brazier locks that I have disassembled over the years have these slashes, they are witness marks for the respective screws once they have been fitted to the bridal/lockplate. The goal is to have just enough thread on the shank so that the screw bottoms out at the same time the counter-bore bottoms out as the screw is seated.
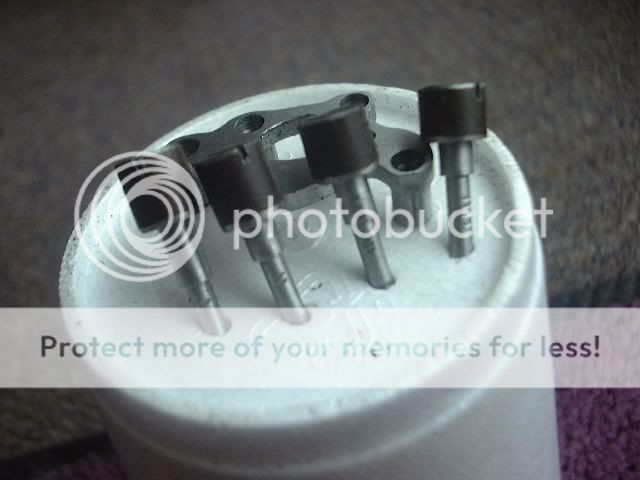
#1 is fitted to the top left bridal hole, and so on clockwise down to the bottom right foot or #4
To fit the screws, I turned the threading die over to minimize the lead resulting in a more abrupt end to the threads on the screw shank. Now I can use the slot in the top of the blank to turn the screw in the die until just the right length of thread is made. Fitted one at a time you can tell when there is the correct bind on the bridal.
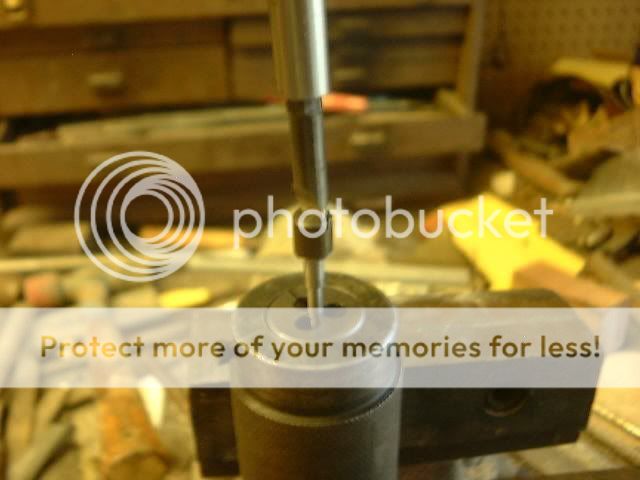
#1 is fitted, and in a few minutes all four will be.
more later
***Created by
westbj (Jim Westberg) on 08/20/2007***

