Author Topic: Building the Bridger Hawken  (Read 3986 times)

Offline Herb

  • Hero Member
  • *****
  • Posts: 1709
Building the Bridger Hawken
« on: August 29, 2016, 03:07:37 AM »
I'm building a close copy of the Bridger Hawken.  The rod pipes are 1/2 inch inside diameter for the Bridger, Carson, "Robidoux" Hawken in Lincoln, NE, and the S. Hawken in Cheyenne, WY, the last two posted in antique firearms here.  The pipes are rolled from sheet iron .060 thick.  The picture of the Bridger underrib shows two of the five rivets that hold the rib on.

This closeup shows the second rivet and the seam of the rod pipe.

I made mine of 2" square mild steel tubing, about .065" thick.  Hacksawed out a piece 1.4 by 1.8" square, pinched it in a vise against a 15/32 drill bit shank, heated it with a propane torch and hammered it down to the shank.  Got a new hold and hammered some more.  All the way round.  Then tapped the tube over the next larger size drill bit, 31/64, and tapped it round on my anvil.  Finally tapped it over a 1/2" bit and hammered the edges down.  Tapped it round.  Filed it smooth.  Filed the seam flat to be set into a cut in the rib.  Filed the ends square and smooth to 1 3/8" length.  Smoothed out the inside with a Dremel carbide disc worn down to about 1/2" diameter.   The picture is full sized of the Carson Hawken, but the pipes are the same as the Bridger.


Muzzleloader Builders Supply carries sheet steel .060 x 3" x 8" for $4.50, but I had the tubing on hand.  Will have something on the entry pipe dimensions next.
« Last Edit: March 16, 2020, 07:00:53 AM by Herb »
Herb

Offline Joe S.

  • Hero Member
  • *****
  • Posts: 1990
  • the other Joe S.
Re: Building the Bridger Hawken
« Reply #1 on: August 29, 2016, 03:23:48 AM »
Good stuff there Herb,did you get the stock straighted out?

Offline Herb

  • Hero Member
  • *****
  • Posts: 1709
Re: Building the Bridger Hawken
« Reply #2 on: August 29, 2016, 05:38:35 AM »
Yes.  I'll post pictures of it eventually.
Herb

Offline A.Merrill

  • Hero Member
  • *****
  • Posts: 797
Re: Building the Bridger Hawken
« Reply #3 on: September 04, 2016, 05:44:56 AM »
Herd,  we are waiting,  where's the pic.     Al
Alan K. Merrill

dwr435

  • Guest
Re: Building the Bridger Hawken
« Reply #4 on: September 09, 2016, 07:26:31 PM »
Will you be documenting the entire build on here?  Some great posts in the past cant wait to see more.

Offline Herb

  • Hero Member
  • *****
  • Posts: 1709
Re: Building the Bridger Hawken
« Reply #5 on: September 10, 2016, 07:01:04 AM »
More on the rib. Here is the thimble cut into the rib.   The tight fitting dowel has an aluminum heat shield and exactly aligns both thimbles to the rib contour for soldering.  The thimbles and rib cuts are tinned, the thimbles clamped in place with C-clamps on the dowel, and then soldered.

The soldered thimble, .530 inside diameter, cleaned up.  Takes a hand made hickory rod.
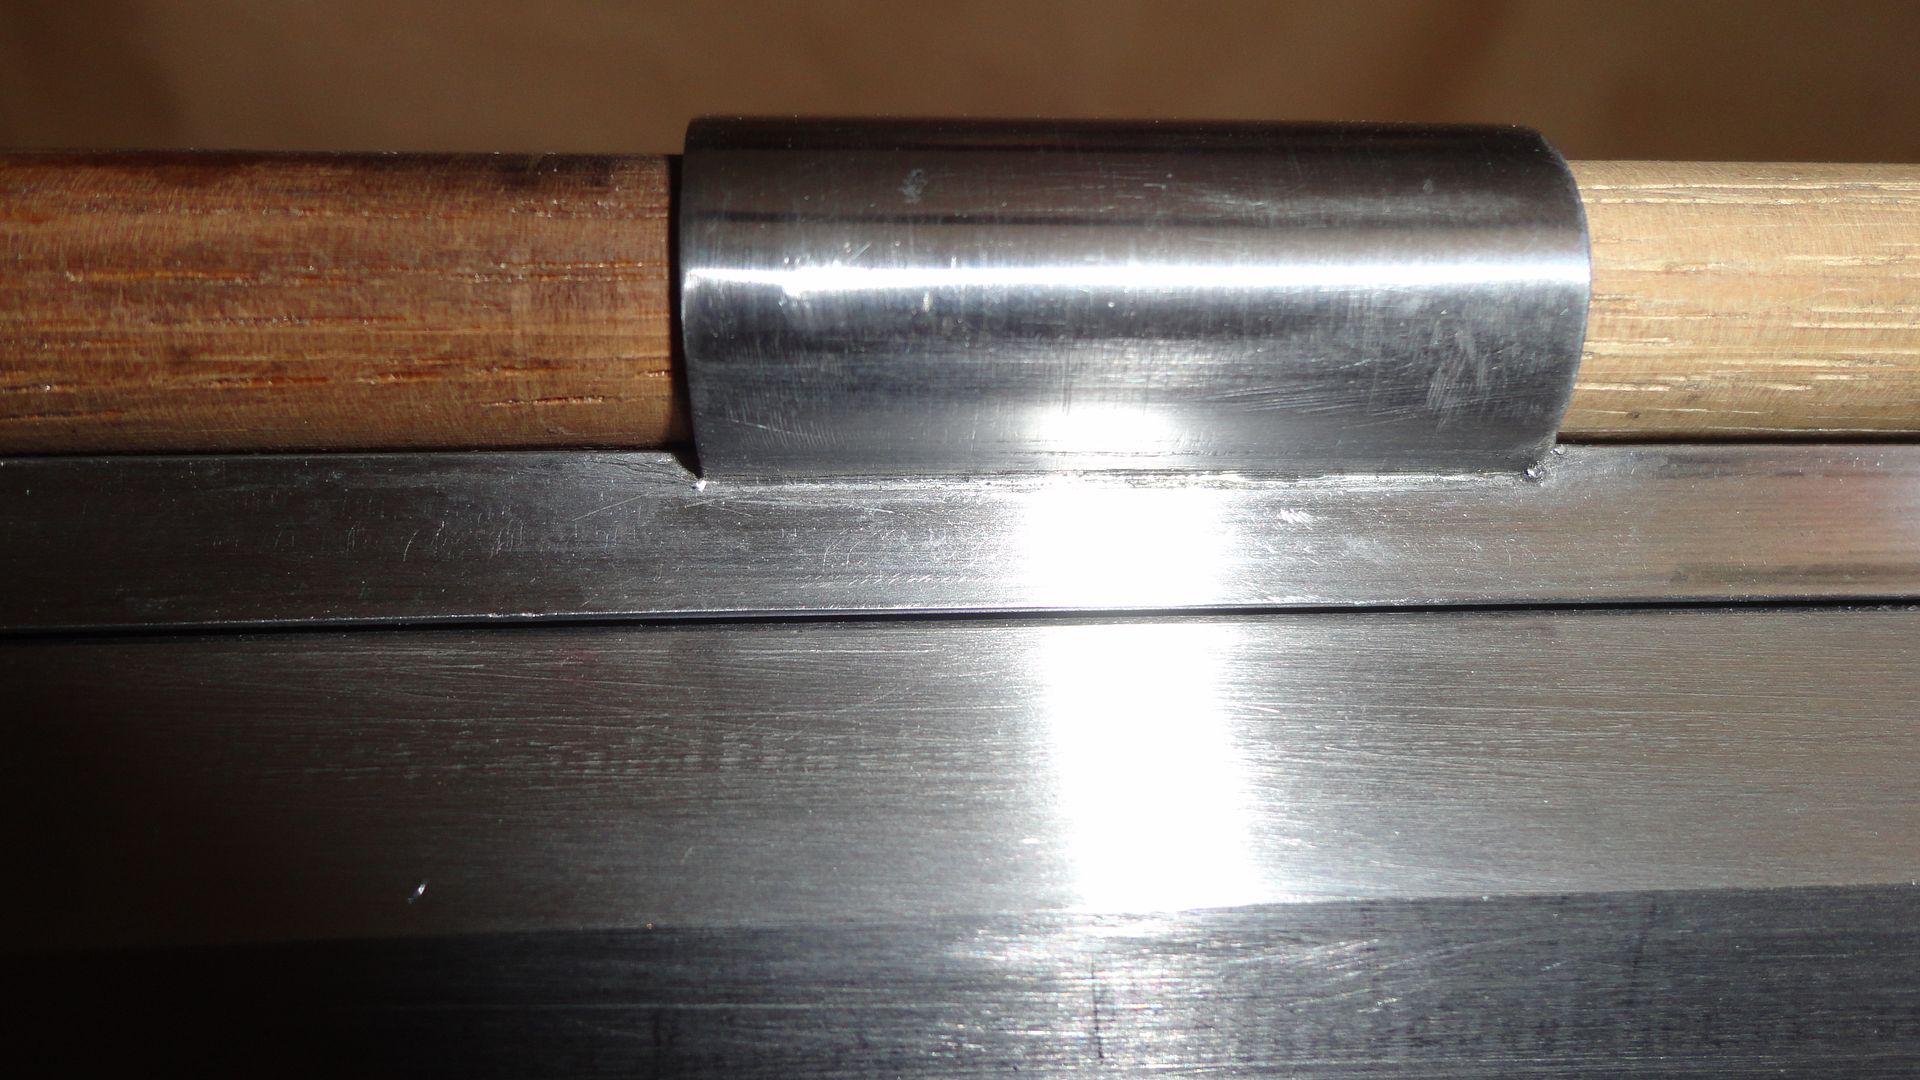
The end of the solid rib is ground back and the half-moon is filled with solder.  The metal backing is non-magnetic, solder doesn't stick to it.  The original Hawken ribs were hollow, some lipped, and the solder plugged the end.  I simulate this.  The Robidoux Hawken (see it on Antique board) has the front screw missing, there is a 1/8" hole.  Yet the rib is solid.  So the solder must solder the rib to the end of the barrel.
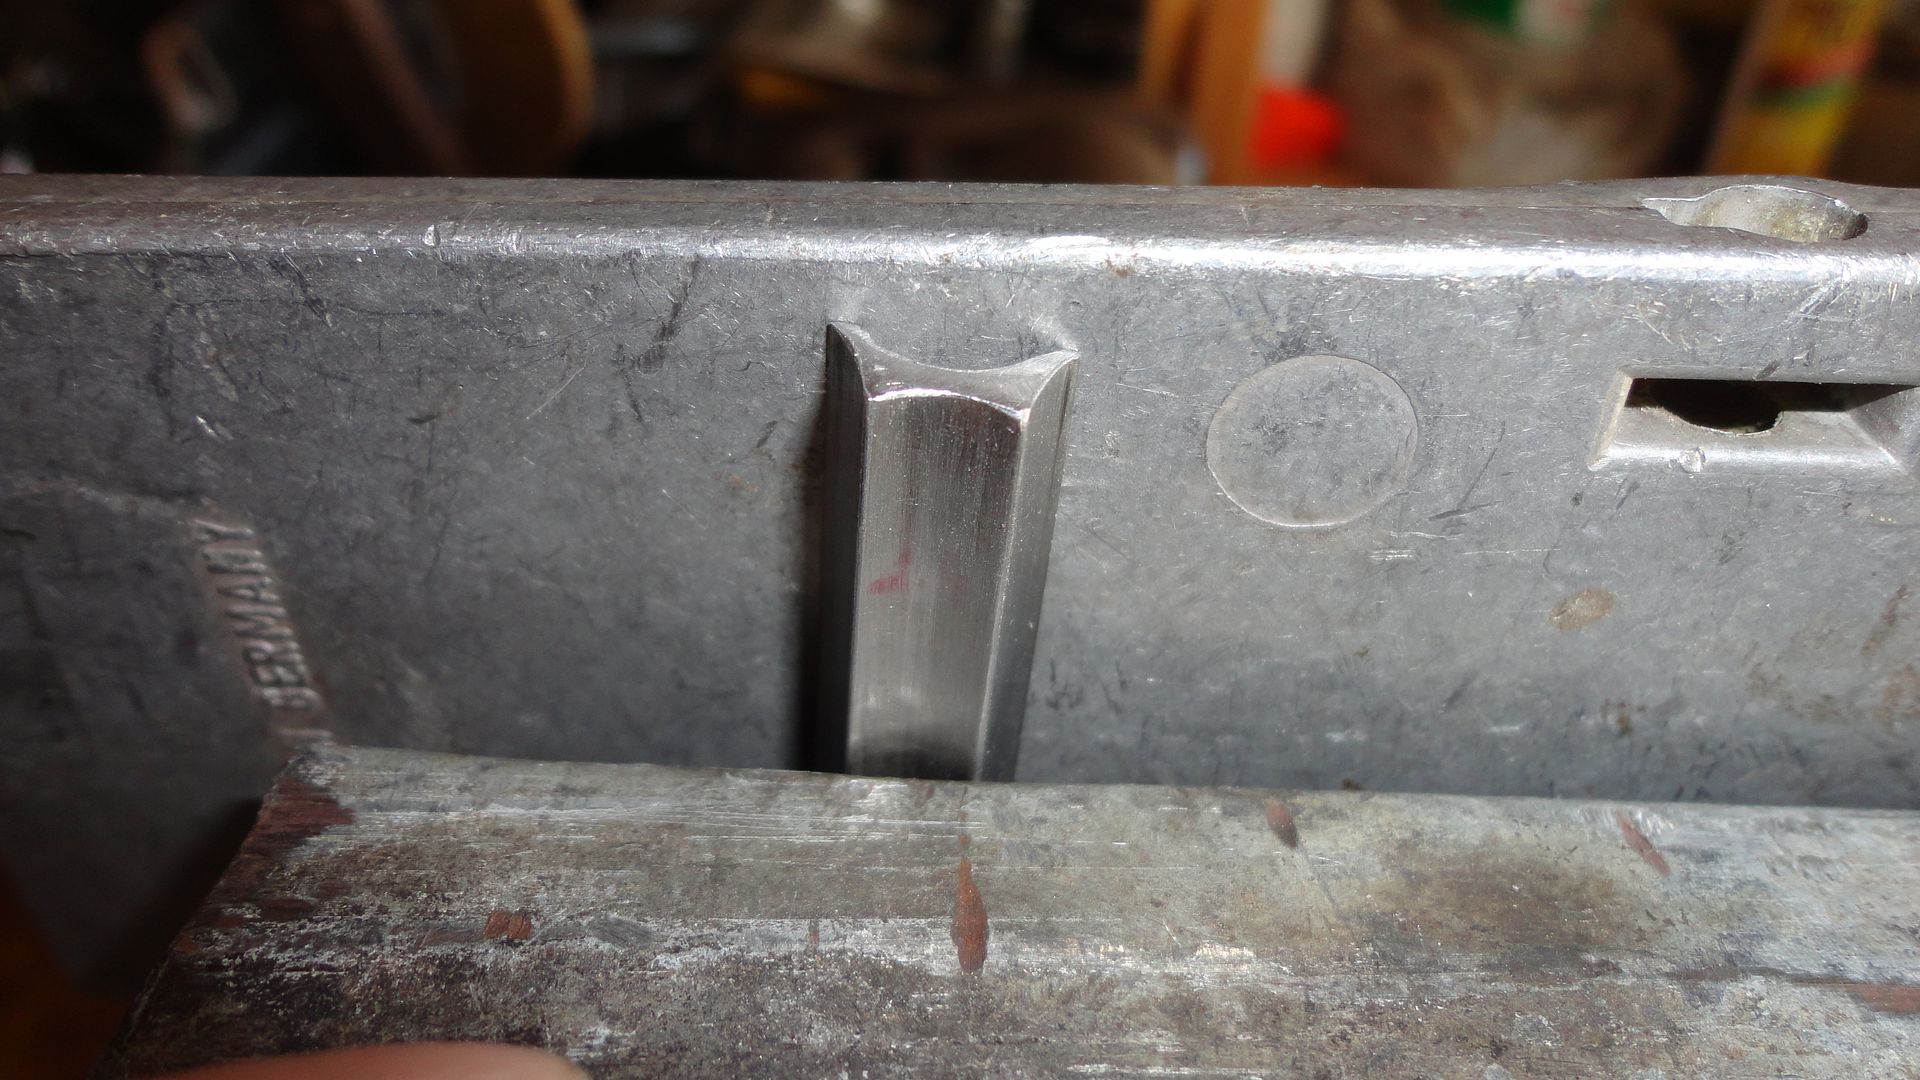

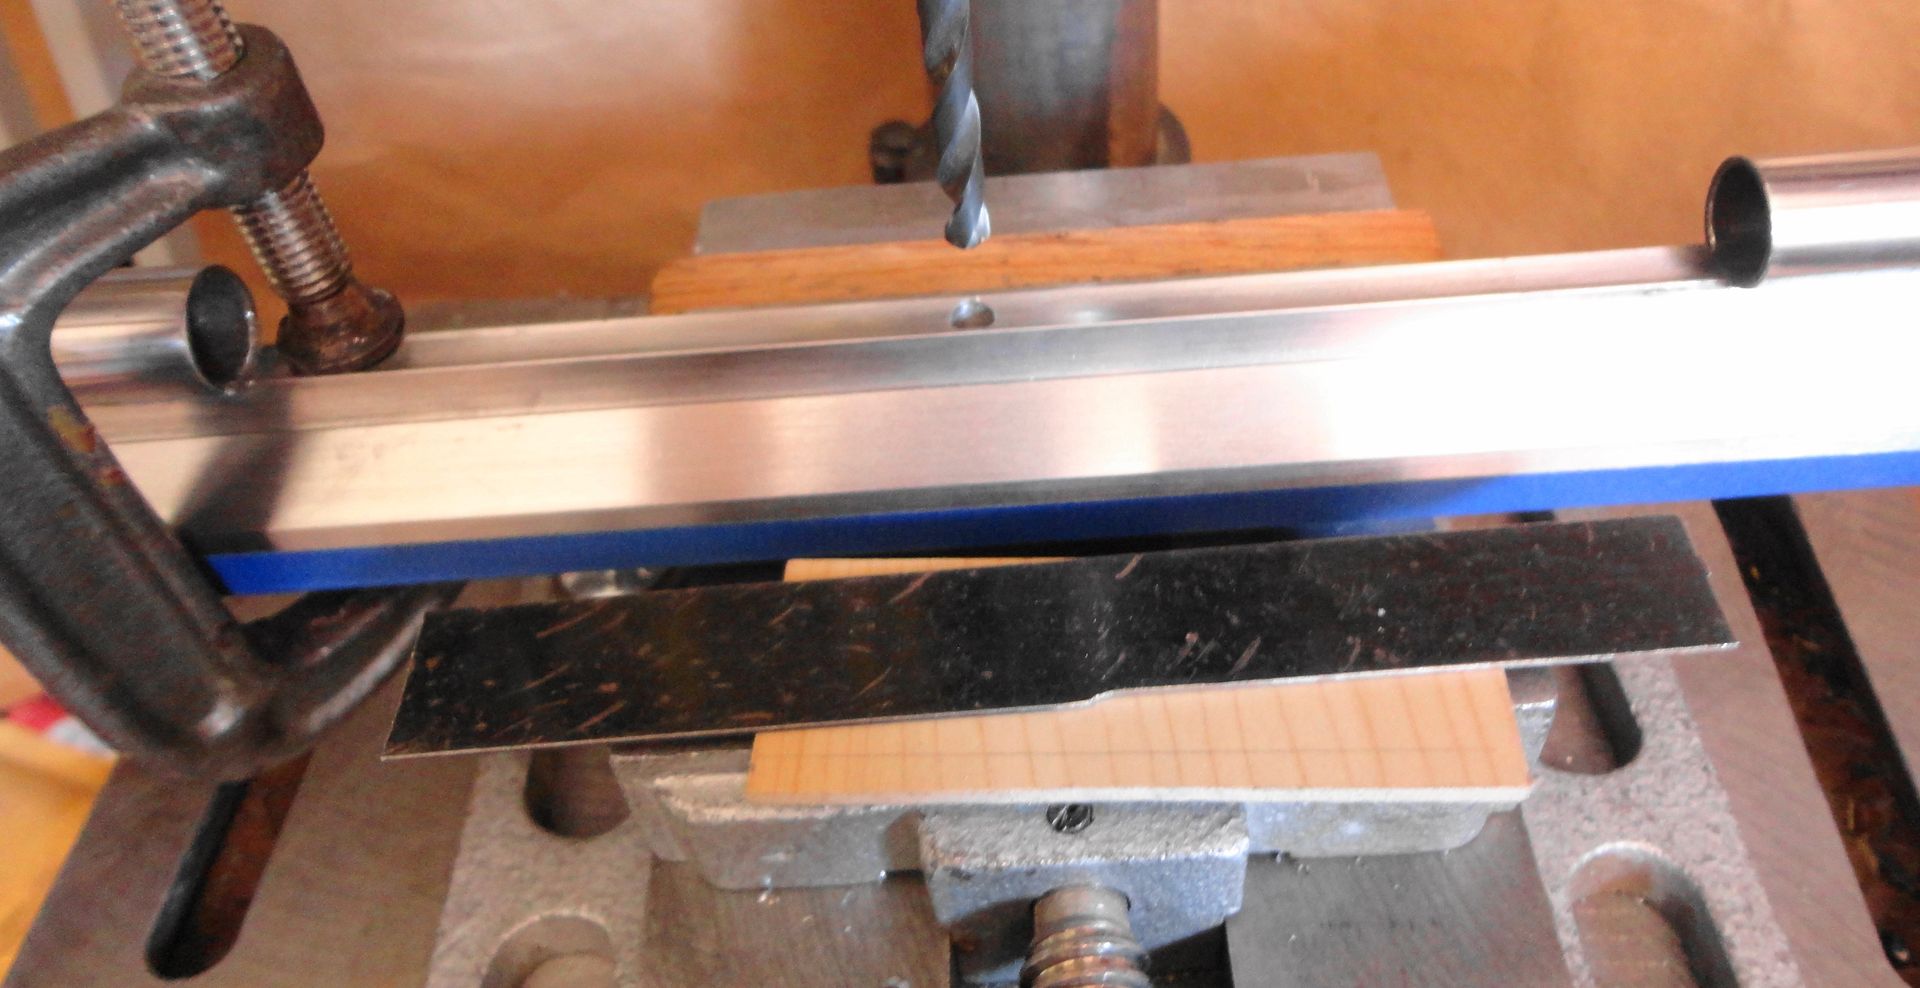
There were 4 rivets in the original Bridger.  First I drilled the holes in the rib for the rivets, which I pounded out of 1/4" thick copper to round, about .220 diameter, not having any large copper wire.  The rib was then put in place and clamped down.  The drill was indexed exactly to the hole .  With the table level, I adjusted the quill until the drill just touched the barrel in the full down position.  You can leave the chuck loose, pull the quill down to touch the barrel, which pushes the drill up in the chuck.  Then tighten the chuck.  Then I put the two shims, .150" thickness, under the barrel, aligned the drill with the rib hole  and drilled the hole.  Did all four. Then I removed the rib and drilled the holes there to the next larger size for clearance of the rivets.
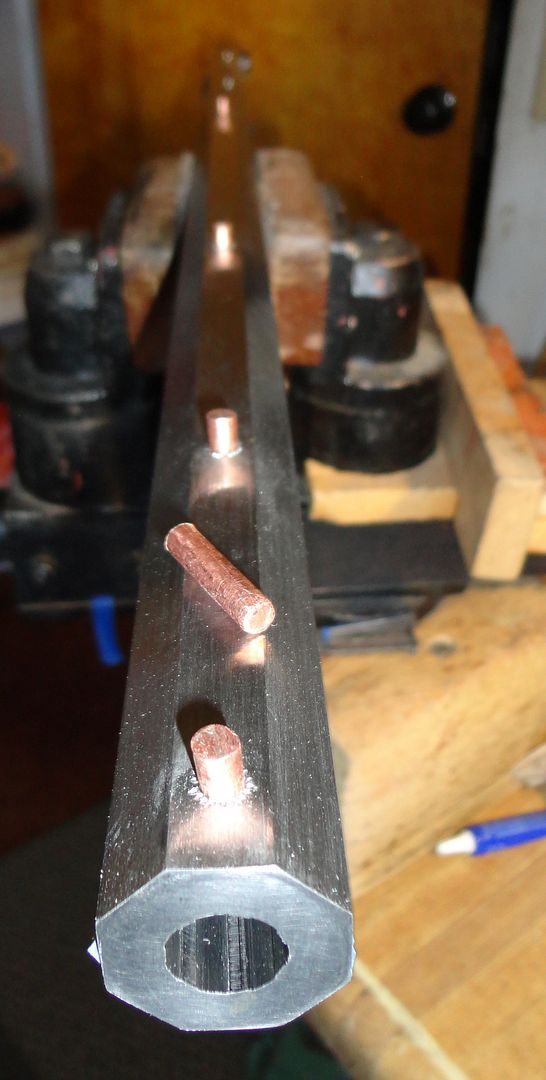
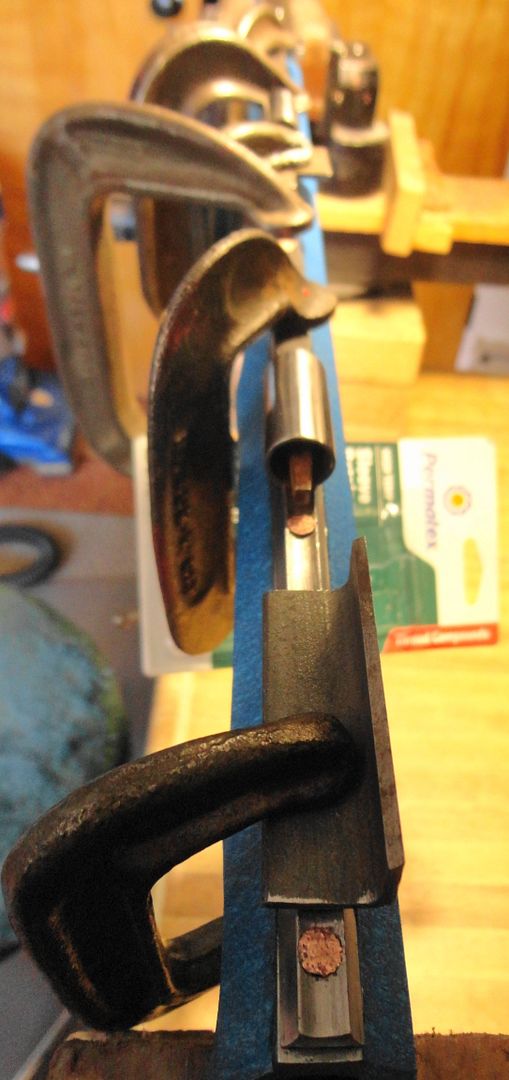
This should be a vertical photo, but you can look at it sideways!  These are copper rivets I made.  A small groove is cut to be just below flush, the holes have Permatex Sleeve Retainer (glue) put in, then the rivets are peened home.  The barrel is an .54 caliber 1 1/8"  7-groove by Oregon Barrel Company, exactly made for a 1/2" long 3/4x16 breech plug.  A very nice barrel.  I had them make it 34" long but then I cut it with hacksaw and files to 33 1/4" like the original, which has no crown or rounded edges.  I expect to file the muzzle like the original.  The lands and grooves both get filed back about 3/4".  I have not done this before and am leaving this for last.
I did not try the rib for exact fit, afraid I might not be able to get the rib off again.   I put Permatex on the barrel flat and the bottom of the rib, fitted the rib over the rivets and clamped it solid.  Waited 24 hours for curing.
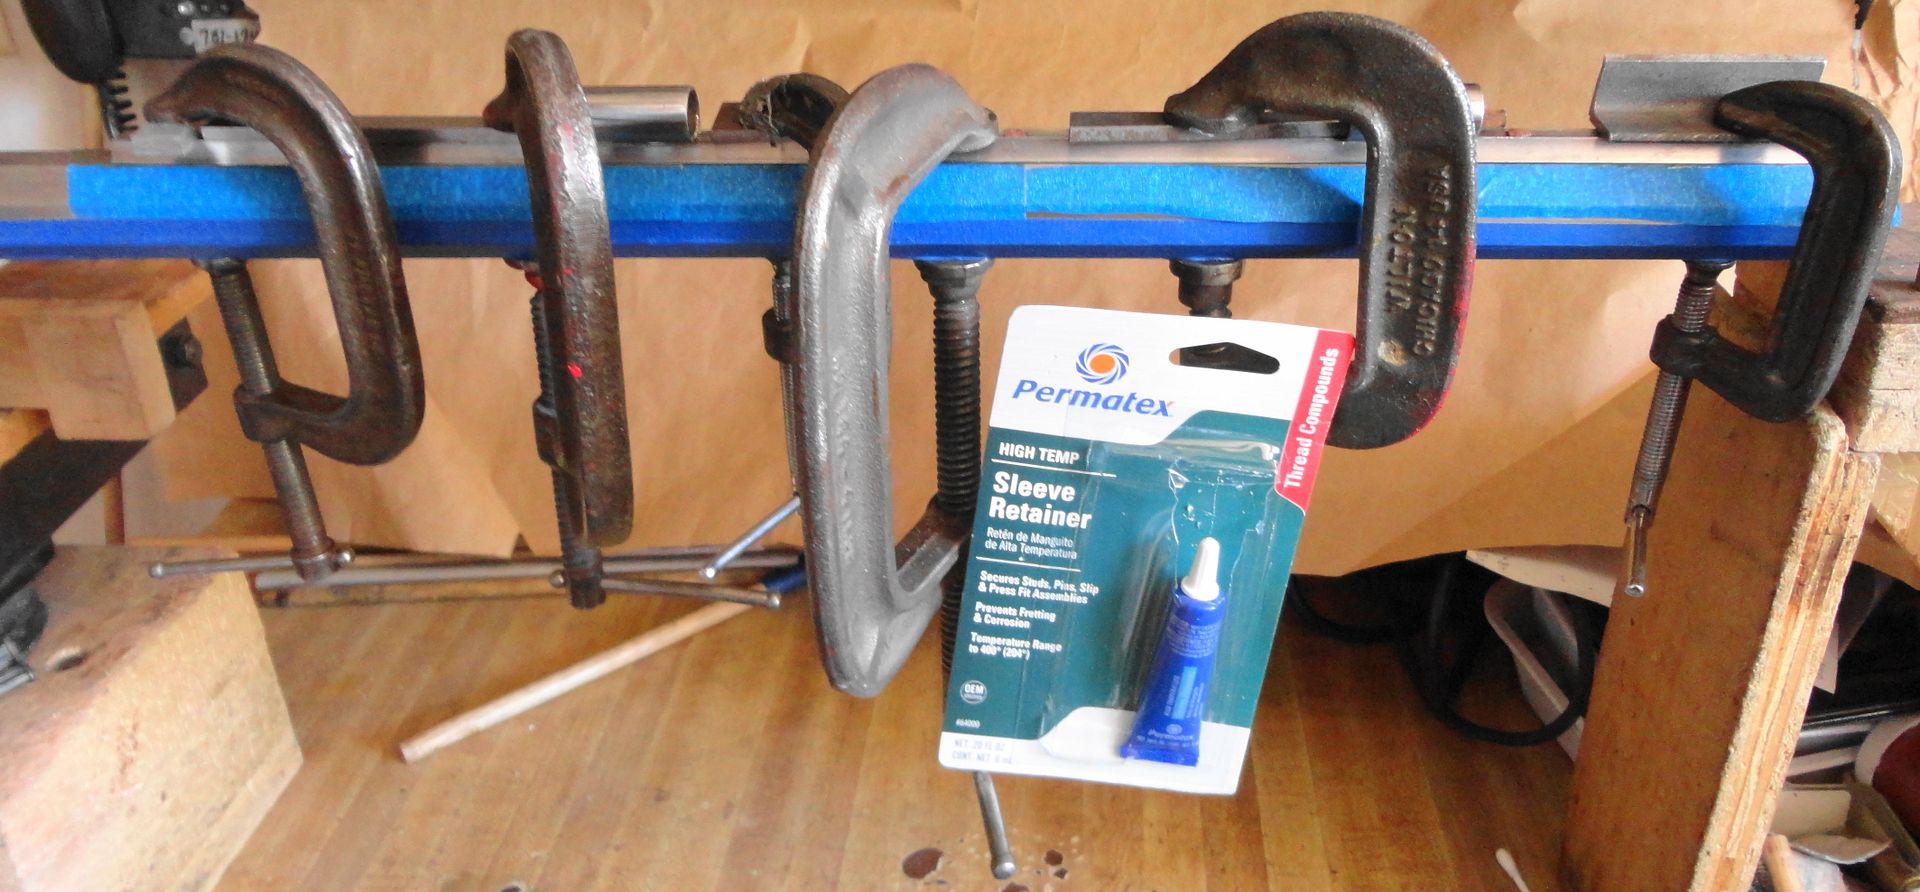
Here the Permatex is cured and the rivets peened over.  They get filed flush.  I have since learned that Lowes has bulk copper wire 3/16" in diameter and one size larger.  A friend gave me a foot of the 3/16", I'll use that or the larger size next time.

« Last Edit: March 16, 2020, 07:03:39 AM by Herb »
Herb

Offline spiderman852

  • Full Member
  • ***
  • Posts: 141
Re: Building the Bridger Hawken
« Reply #6 on: September 10, 2016, 11:40:35 AM »
Good stuff, Herb.

Thanks for taking the time to show us these steps!

Mike