I made some nails today that I use for 'invisible' nailings of the inlay. Nail material is the same as the inlay, sterling silver. Brass would work with this same tooling.
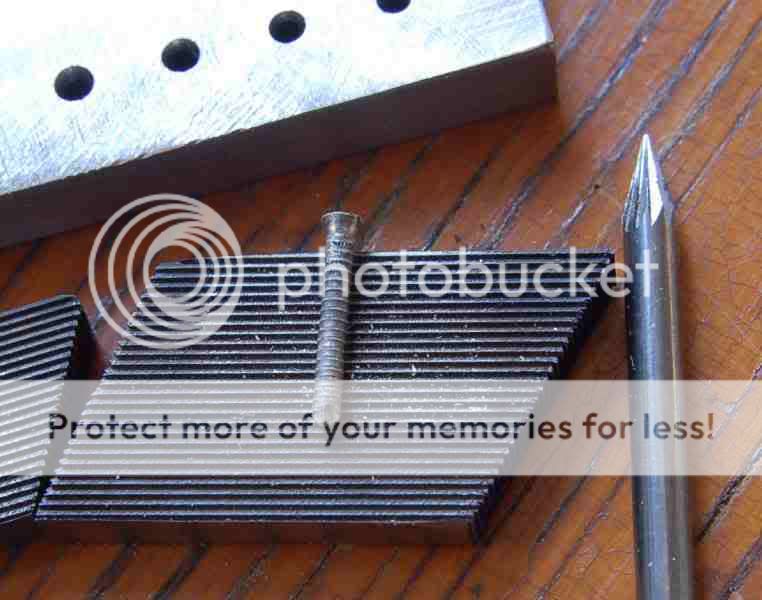
This is a ringed shank nail made of wire, formed with tools you make yourself. The head is conical, so can be filed down flush, and filed quite heavily without loss of the head retaining the inlay.
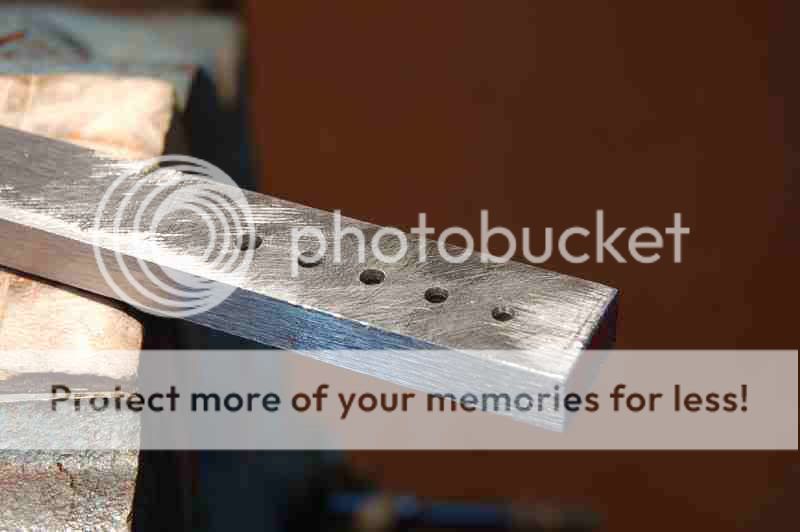
In the center is a nail on the ring forming plate. At the top is the head forming plate, and to the right is the carbide burr I used to make the countersinks in the plate AND in the inlay, so the head of the nail matches the countersink of the inlay hole.
In this shot, I am heating the silver wire to form a blob. That will be used to form the head of the nail. When the tip of the wire melts, it forms a little ball on the end of the wire. Nip off to the length you need. I used 3/8 length for this inlay. I did a test where I drove the nail in, and tried to pull it out. The head came off instead of the nail pulling out.

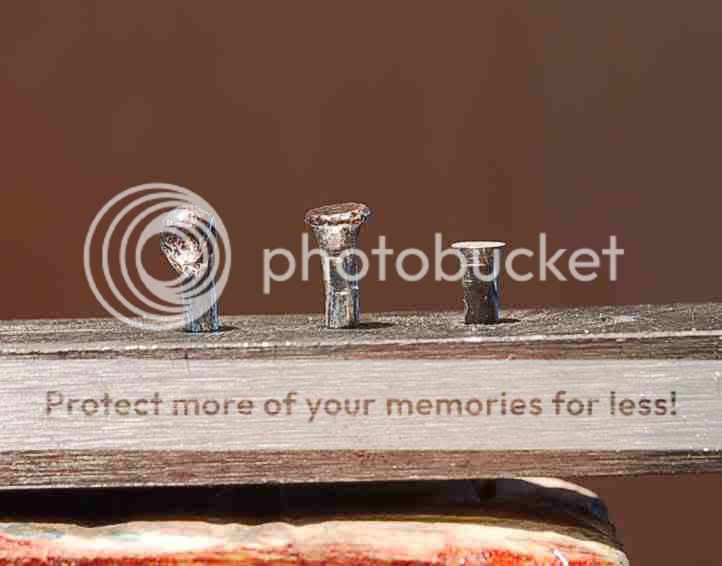
Three wires in the fixture just to show the sequence, from left to right. On the left is the blobbed wire. middle wire has been pounded into the fixture plate. The right hand wire has been pounded in and then filed flat.
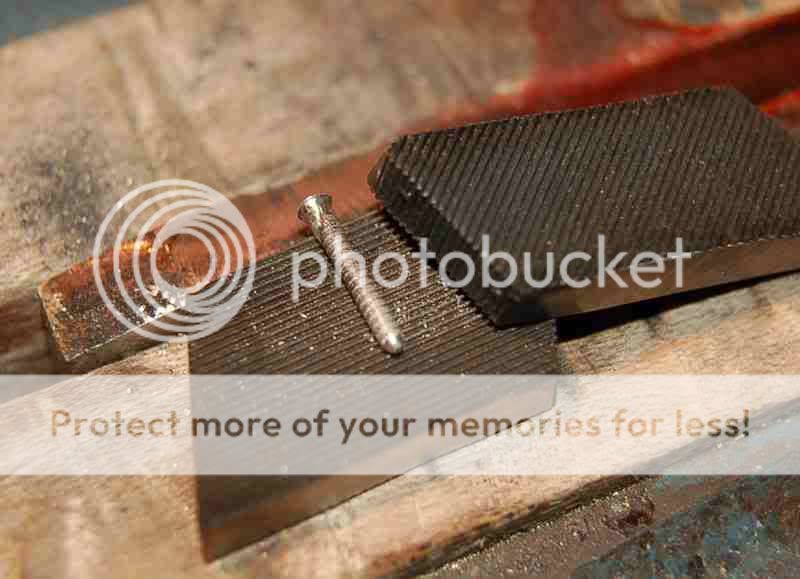
The plain shanked nail is placed between the two dies, and rolled with some downward pressure, back and forth. The dies are cut from a mill file with a chop saw. The teeth have a backward set, so make sure you get the barbs going the right way on the nail shank.
A nail is partially inserted into the hole. Note the other hole to the right in the background, countersunk to match the nailhead. I predrilled the hole in the wood. The hole size is determined by testing on some scrap of the same wood.

The forming plate has a series of holes, each hole ever so slightly bigger than the next in head diameter, about .005 increments. The through holes are .062" for .06 wire.
I hope you like this kind of thing. It took me a long time to work up a simple system, but you can see there is very little investment in tools.
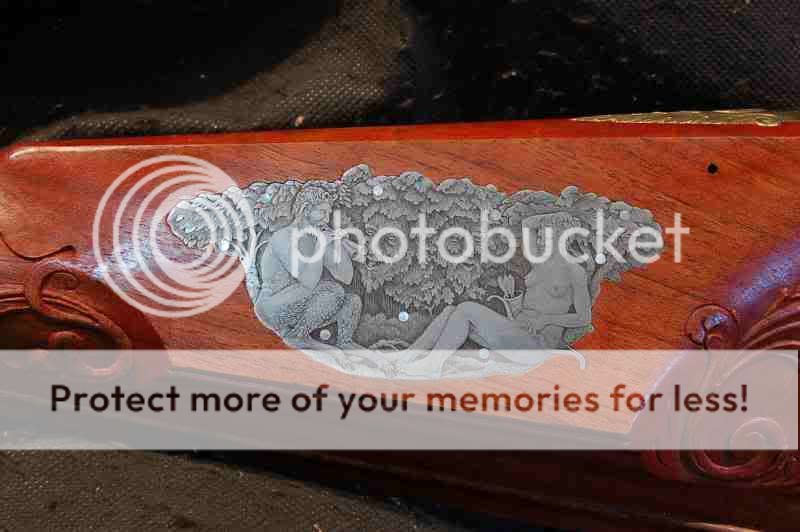
In this picture, the nails have been very carefully cut flush, and then engraved to match tthe original engraving as closely as possible. There are four nails in this shot; you may be able to find them, or where they are by looking at the very first photo of the tutorial.


