Guys,
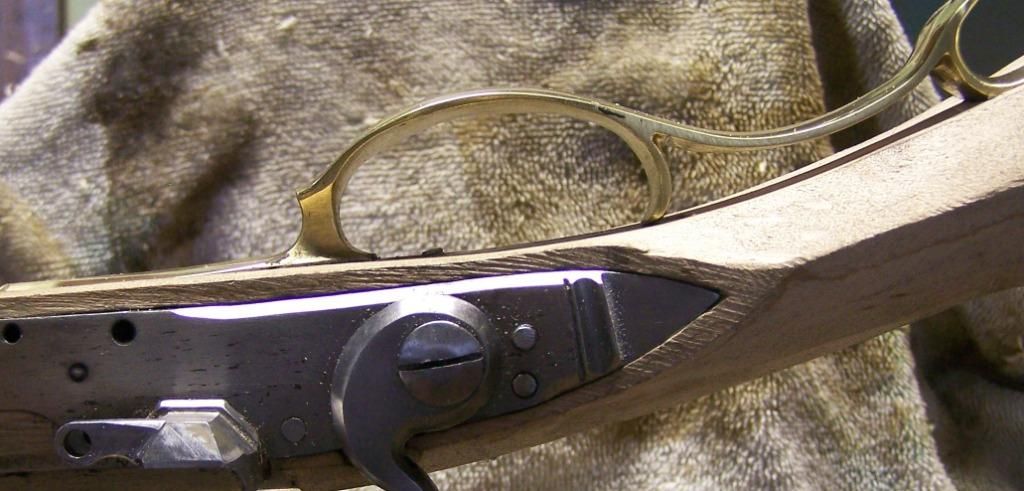
I am finally stocking the gun I have been working on and showing the process of lock making, barrel straightening, screw making, etc. Here is how I shape the trigger. When I forge & file th trigger I leave the trigger blade much too long to fit into the expected trigger guard. Next I install the trigger guard without the trigger in place as seen in this photo.

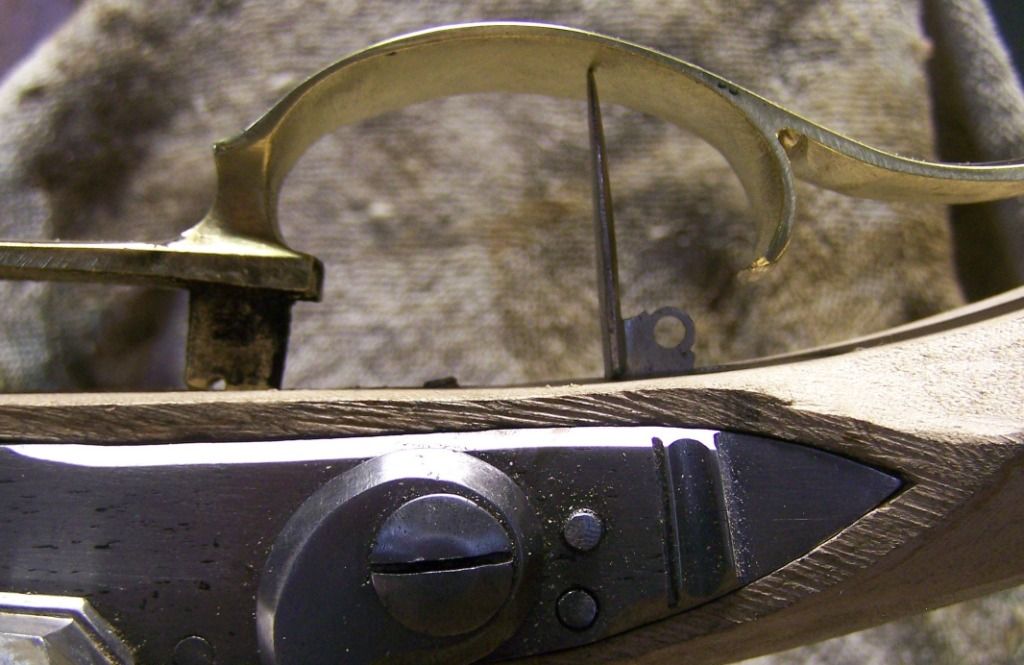
I install the long trigger (with the trigger guard off) and adjust it until it works properly. The next photo is goofy, but it shows how the trigger blade is way too long for the guard.

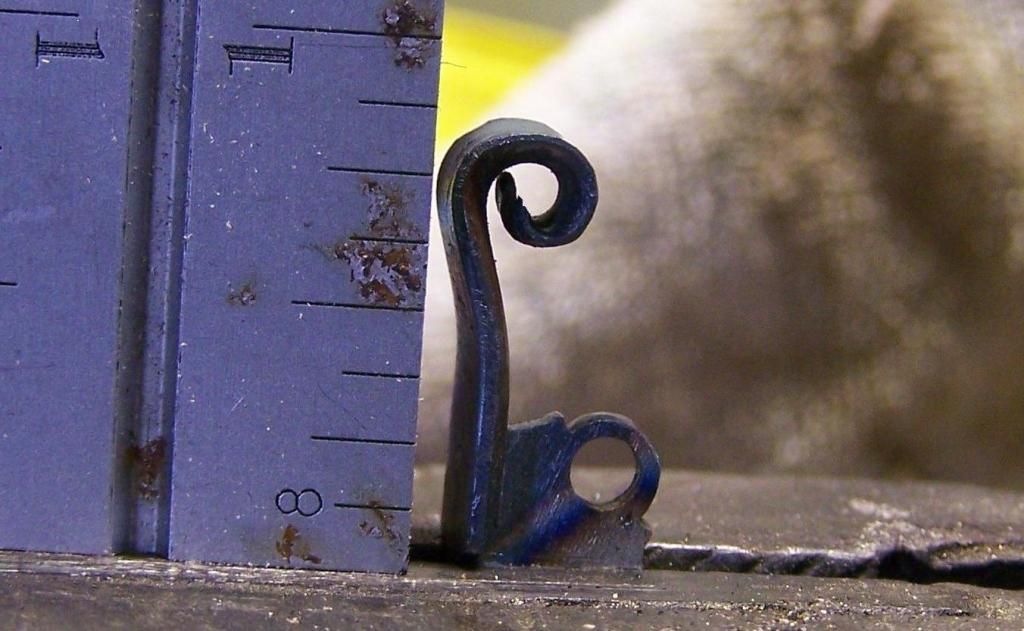
Measuring the available distance in the guard, I clamp the trigger in a post vice, heat the blade red hot and forge it down in a nice curl until the trigger is just a tad short of the measurement.
[

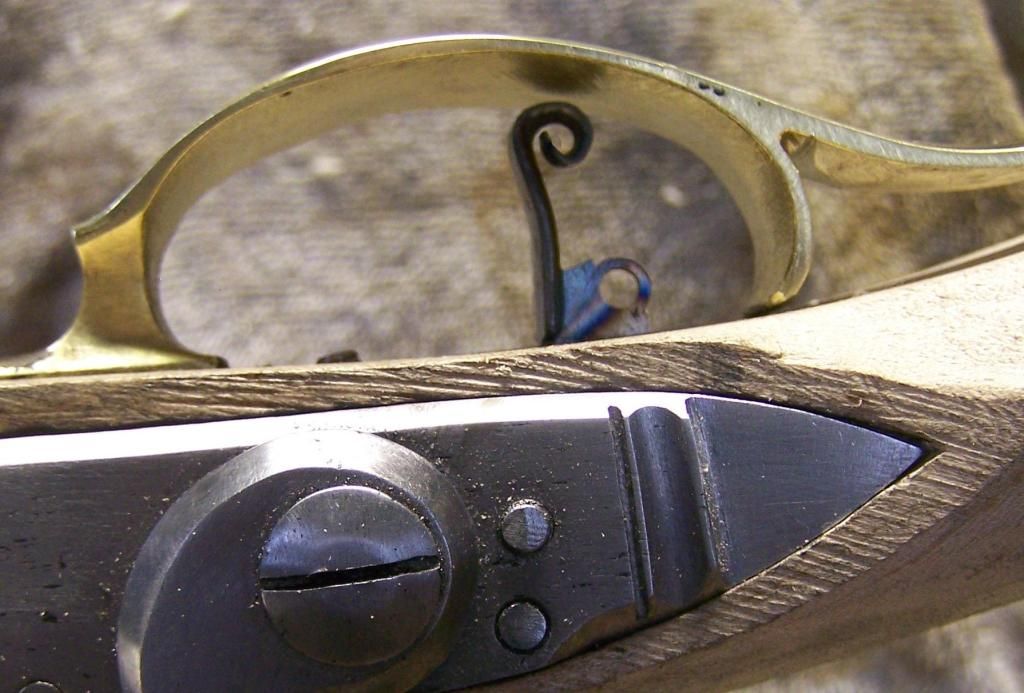
At final assembly the trigger fits the guard nicely and has that attractive curl, too.

Jim

