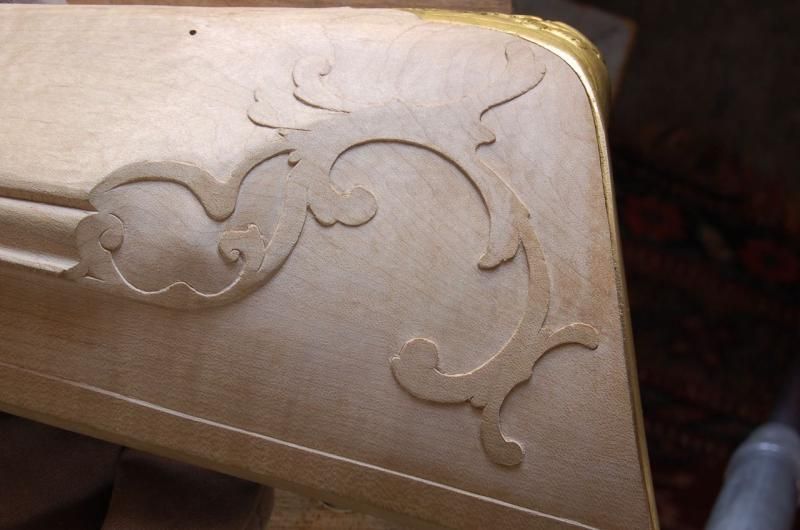
This is a trial posting for a tutorial on stabbing and background relieving. Post whatever you feel appropriate for the topic, as I have found that the comments that go along with the thread are full of good ideas. This will eventually be edited and posted in the tutorial section. Thanks, Tom
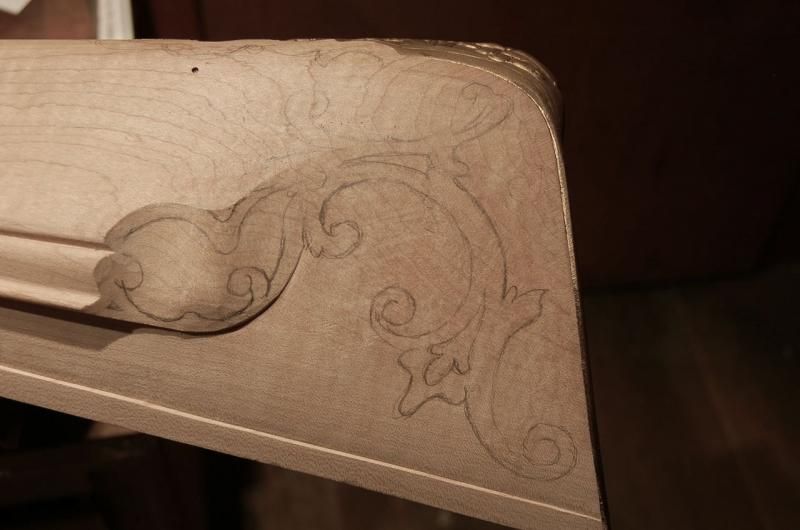
Draw your sketch on the wood with pencil. Second best tool is a big pink eraser.
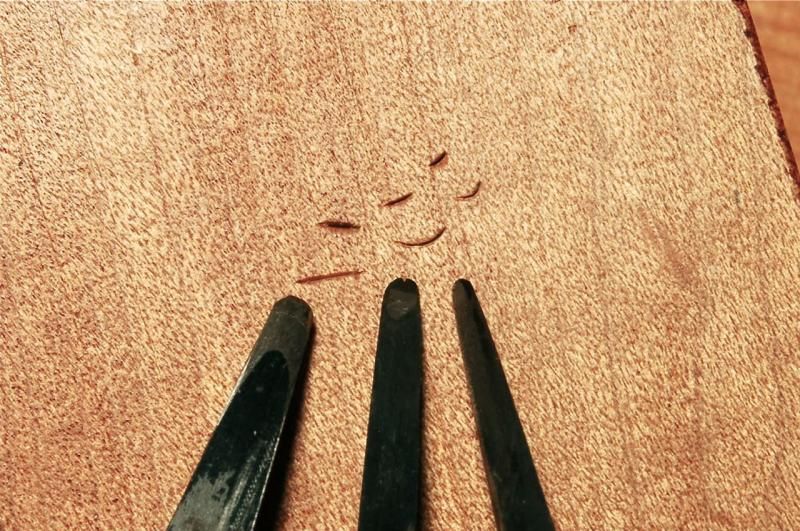
Tiny tools note the ends are rounded. The two on the right have flat backs, rounded fronts. The one on the left is rounded on both sides. Same tools in same order in the phot below.
Top row across is the tool plunged straight into the wood.
Second row is the tools plunged and then rocked right to left. This 'rolling' of the point causes the tool to creep along the wood. The flat backed tools can go around a tighter curve, flat toward the inside of the curve.
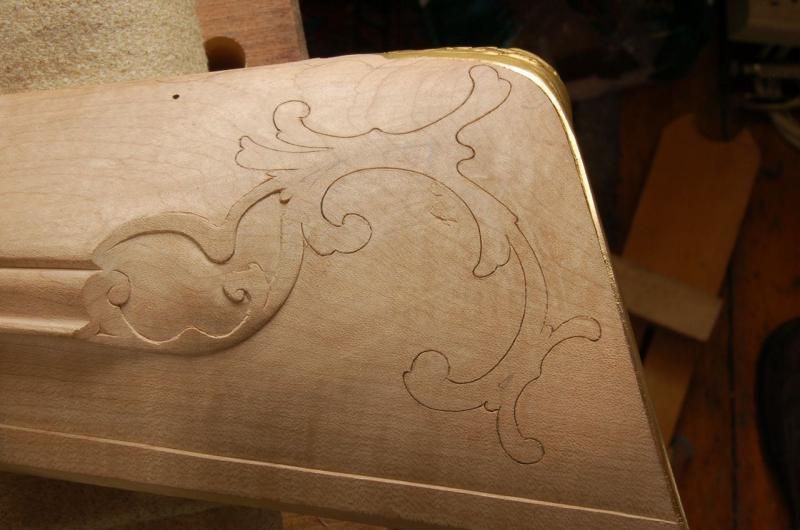
Design stabbed in, but not very deeply. As I cut the background away and come up to the stabbed line, the waste wood pops off. If I haven't stabbed deep enough, the waste wood hangs on. So I can take the stab tools and cut a touch deeper wherever I need to.
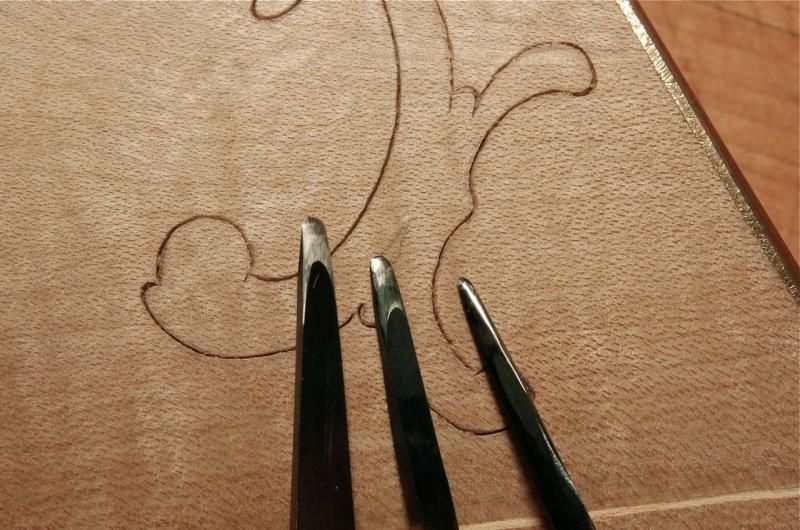
Sketch completely stabbed. For a few inside and outside radii, I use a gouge that fits the drawing.
(image of background cutting tools and techniques still needs to be created)
Background is all cut down, and faired back enough so that the surface doesn't look like it's 'diving in'.
