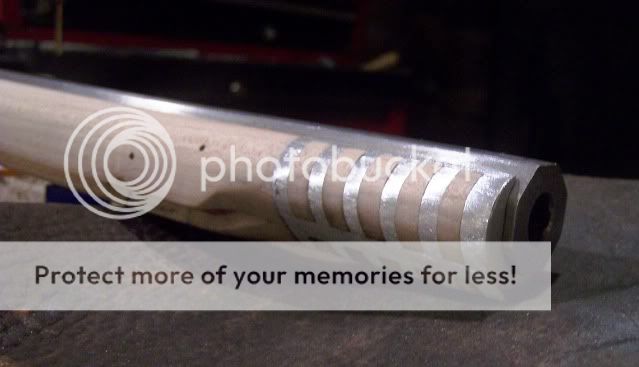
With all these Southern guns being built right now I figured a few pics of pouring a pewter nose cap might come in handy. I hope someone finds this helpful.
Ken
To get started you need the wood down to pretty close to where it needs to be. Maybe a 1/16' of wood more than you need. Leave some wood in case it scorches and then sand to final shape.
Draw out your design and start inletting. One of those Exacto saw blades comes in handy for cutting long straight lines. Notice I have the parts to be removed colored in. That will keep you from making a bad mistake. I know.

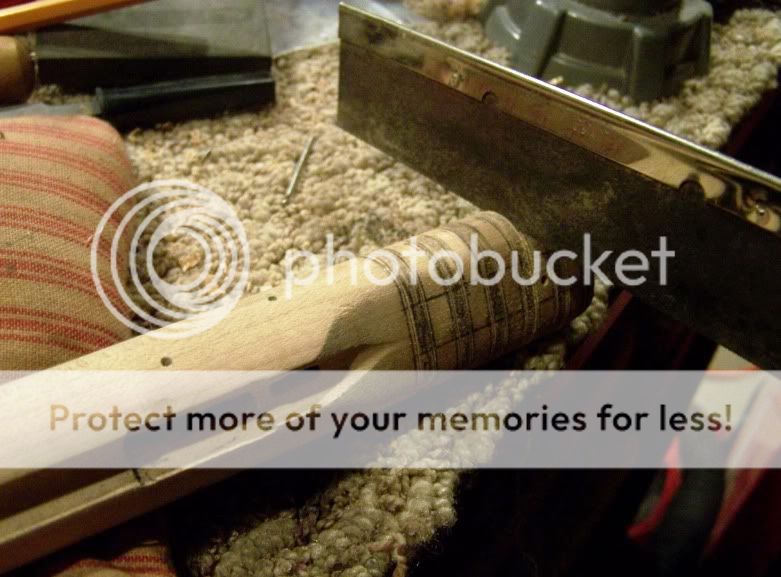
Once the wood is removed, color the inleted area with a #2 pencil. This reportedly will help the pewter flow. I don't know that for sure but I'm not taking any chances. Getting it to flow is the name of the game.
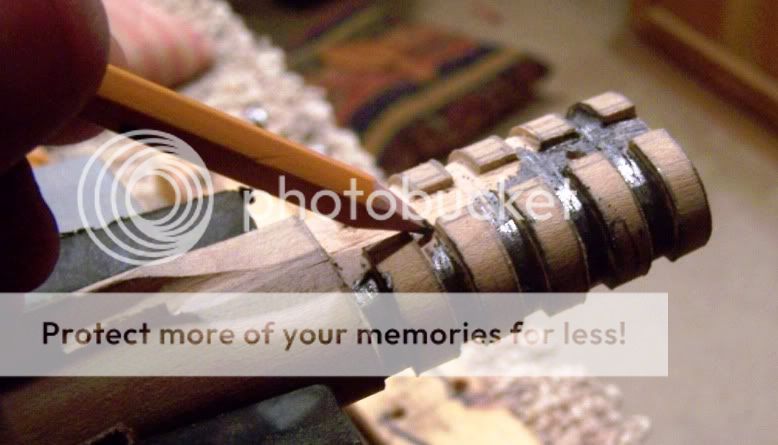
I then drill small locking lugs into the inletted area. You wouldn't think it would need these but the pewter will shrink a little and I have had one that would rattle around a wee bit.
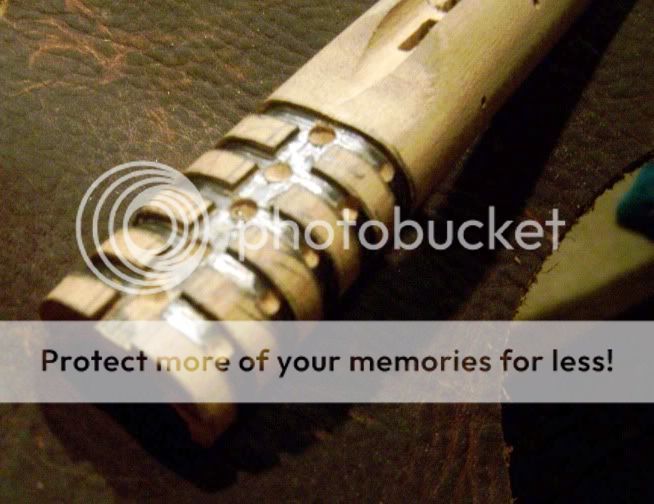
There's a bunch of ways to do this next step. This is just the way I do it. I take some thick card stock. What you see is the cardboard wrapper that sand paper comes in. Place it between the barrel and the stock.
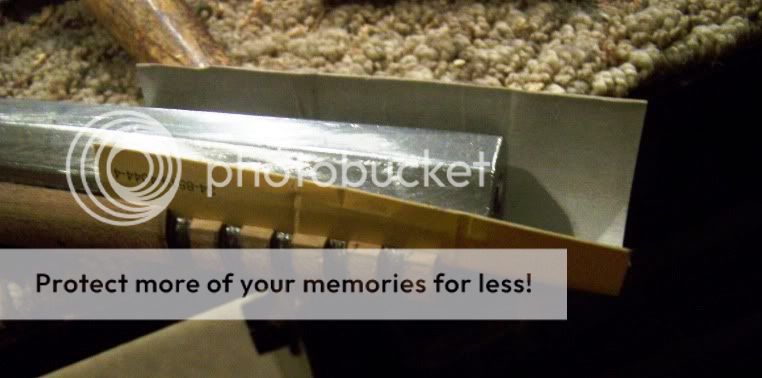
Take a second piece of the same card stock and wrap around the area you plan to pour.
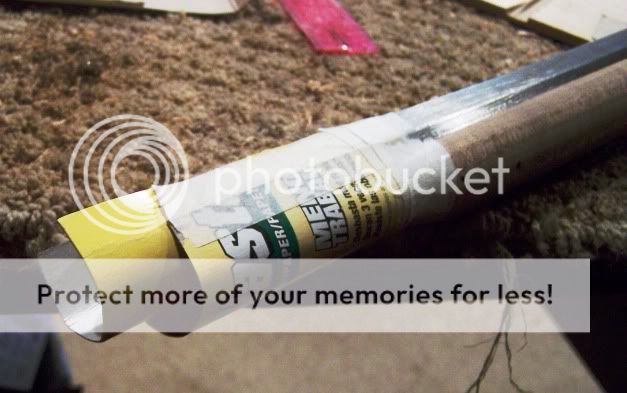
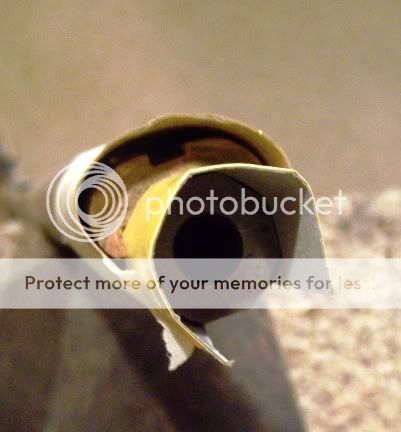
You can see that I leave extra space in the mold that has been made. This will go a long way toward getting the pewter to flow into all the voids and make a nice clean pour. I will also give you a work out when your trying to file and rasp everything off.
Wrap everything in masking tape. When you think you have everything wrapped good, add some more tape. We'll see why later. I use modeling clay to seal every corner and place pewter might leak, like along the edge of the stock and the barrel. You will notice I have filled in the inlet for my ram rod and barrel lug. I also learned this the hard way. Trust me. If you have a spill or leak the pewter WILL go in the worst place possible.
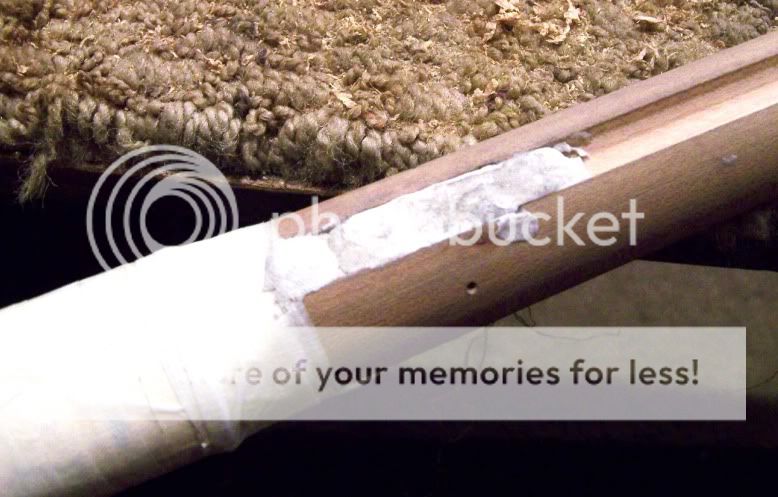
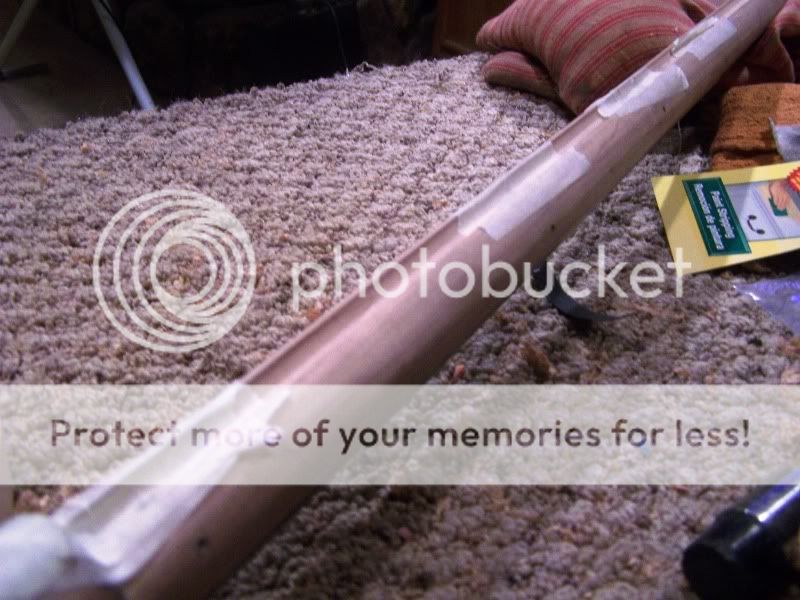
That includes right down the ram rod hole. That gets taped over too.
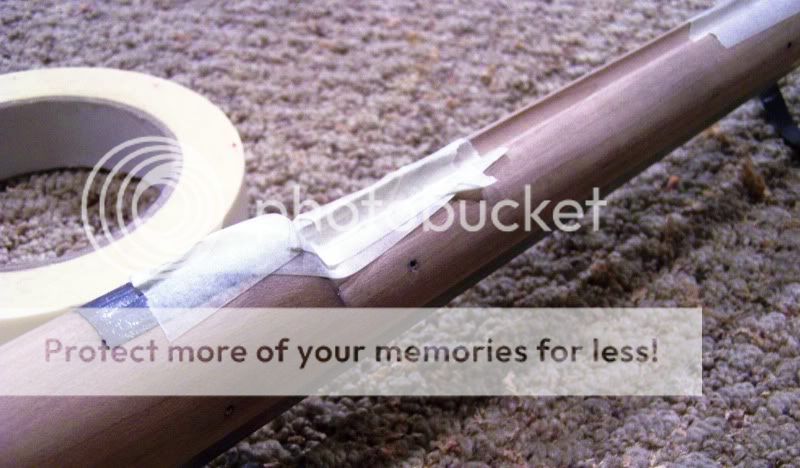
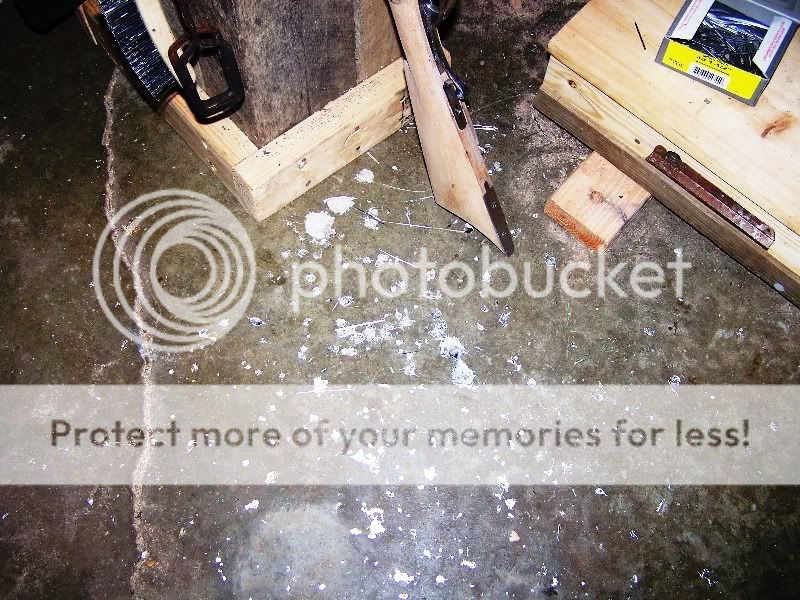
Your probably thinking, he's going on and on about the spills and leaks. Here's a couple of pics to show you I'm not making it up.
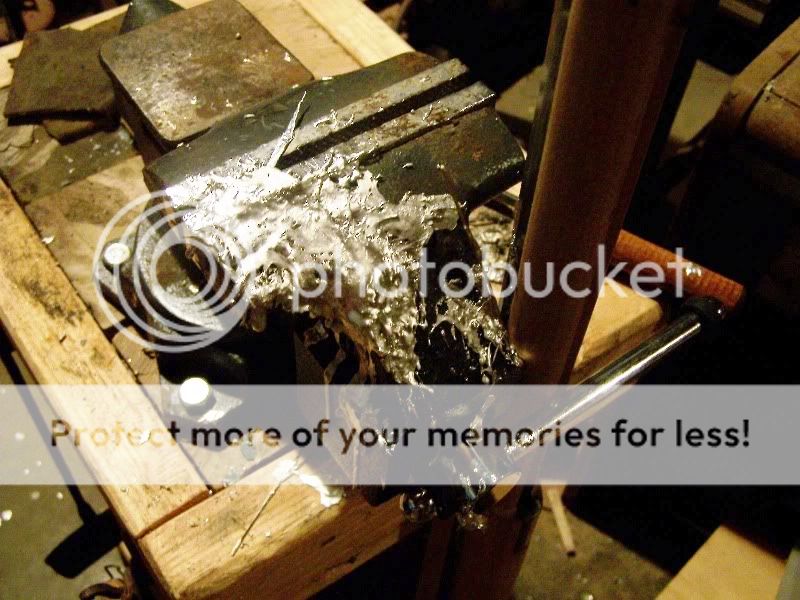
After al I did to prevent this it still happened, A leak! All is not lost. You can take a soldering iron or gun and heat sections and the pewter will fall out of the mortise.
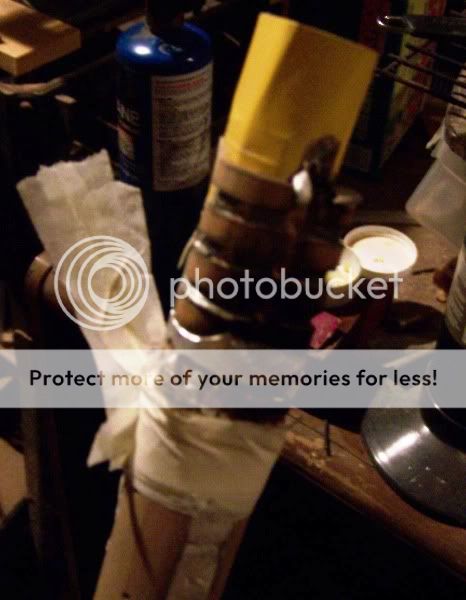
Now the safety tip. Wear long pants, long sleeve shirt, wear gloves and face protection. I use a full face shield. This shows how far the stuff will splatter when it hits something like that vice on its way to the floor. My pants were covered with pewter splatters.
OK, Back to the nose cap. First, I heat a bolt and drop it down the barrel. This will preheat the barrel and keep the pewter from shilling off when it hits the cold steel.
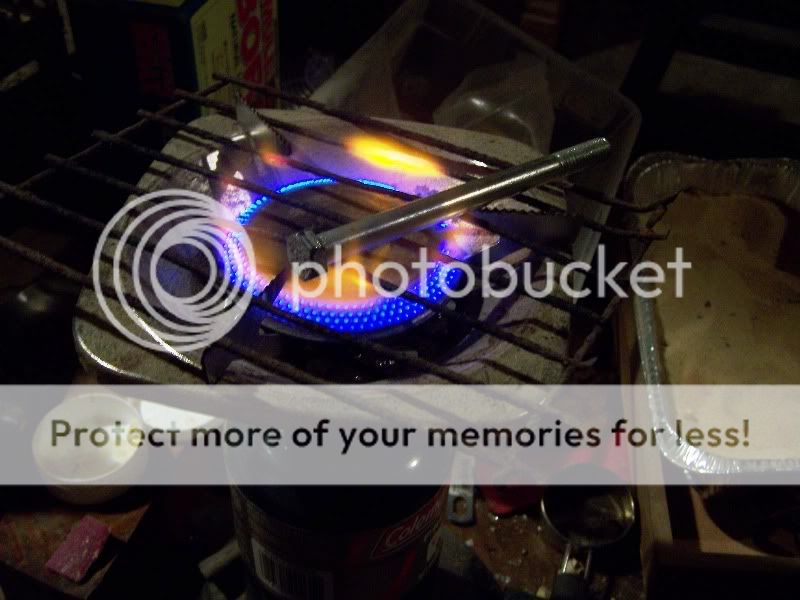
Make sure the bolt head is larger than the bore. This will also keep a missed pour from going down the barrel.

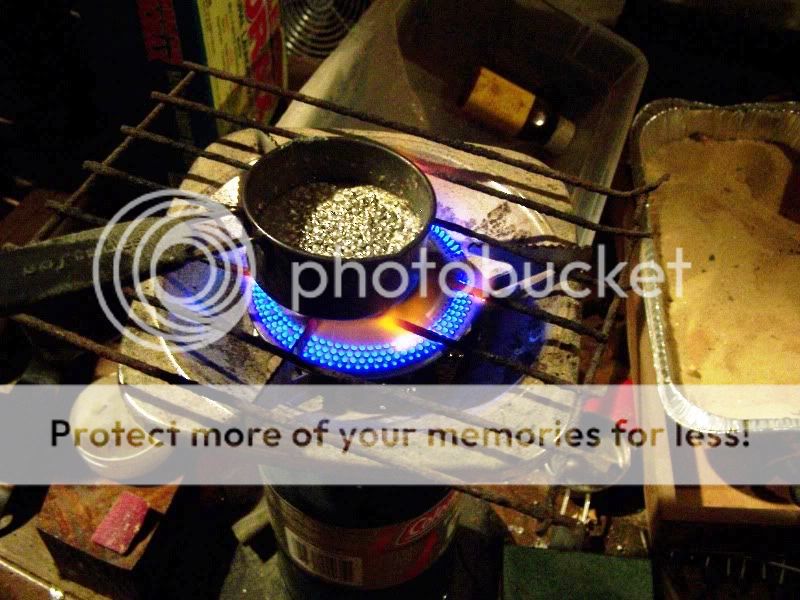
Now heat your pewter. This will give the bolt time to heat the barrel. Unfortunantly it also makes the tape turn to goo. This is the culprit for the above leak and spill. A nessesary evil. How much to heat the pewter? You can get it too hot and it will scorch the wood. Not hot enough and it will not pour. I don't have a temp guage so I use a toothpick. One of those round maple ones. You should be able to put the toothpick in the melted pewter for a couple of seconds without it scorching/charring the toothpick. I have observed that when it is too hot the surface of the pewter will get sort of a blue hue to it.
Here's what it looks like after the card stock and tape has been removed. I'll bet you are thinking what a mess! Get your rasp and files out. Now the fun part begins. Oh, you'll need some elbow grease too.
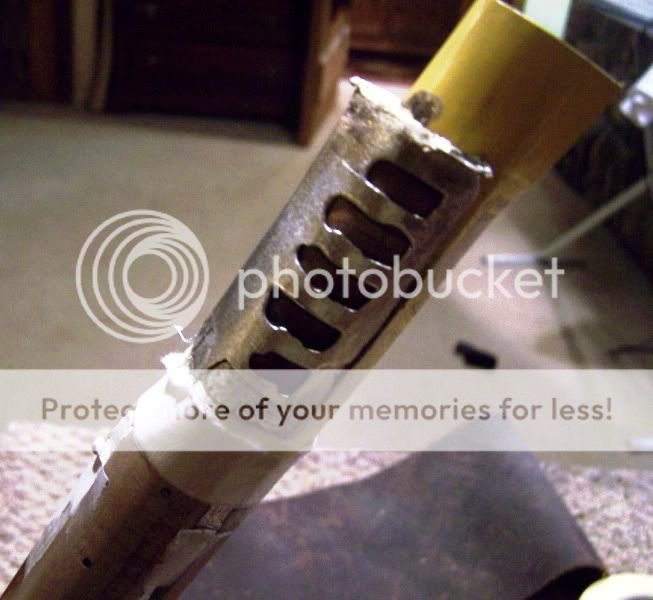
Finished Product.
