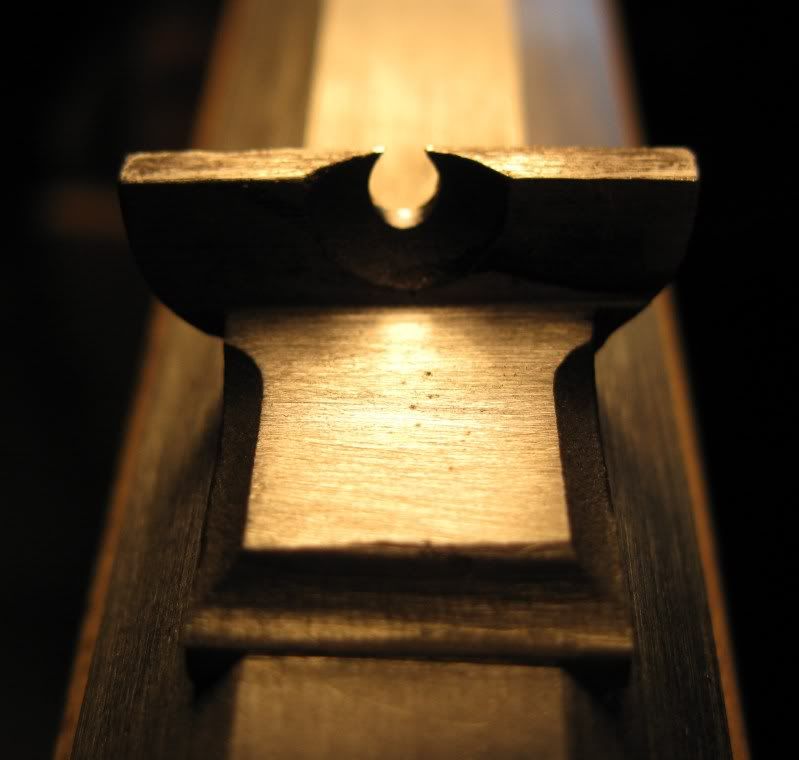
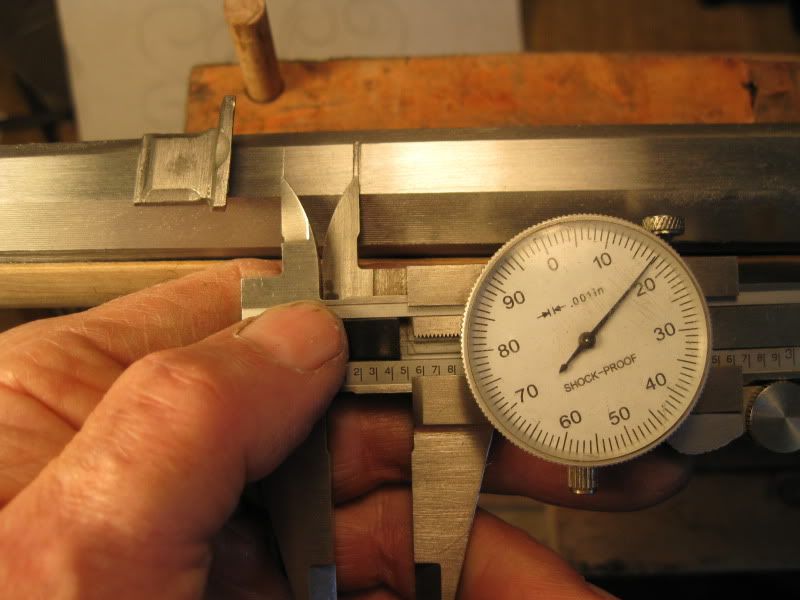
Heres how I put sights on my Stonewall Creek early Lancaster, or whatever it is. First, true up the sights. Grind the casting gate off the bottom of the rear sight and file it flat. File the front and rear edges of the bases clean, sharp and parallel (measure with a calipers) using a triangular file. I got mine from Ace Hardware, and ground the teeth off one side. Make sure the bases are wider (across the barrel) than the bottom of the slot you will cut. Clean up the flats of the sights with files. Locate the front sight dovetail, which I start above the nose cap. Scratch a line across using a square. Saw that to near depth, .055 for me. Use a calipers and measure the width of the TOP of the sight dovetail and scribe that with the jaws behind the first cut, a little short. Saw that in. Make an X-cut, then saw cuts across that to the same depth to make the trough.
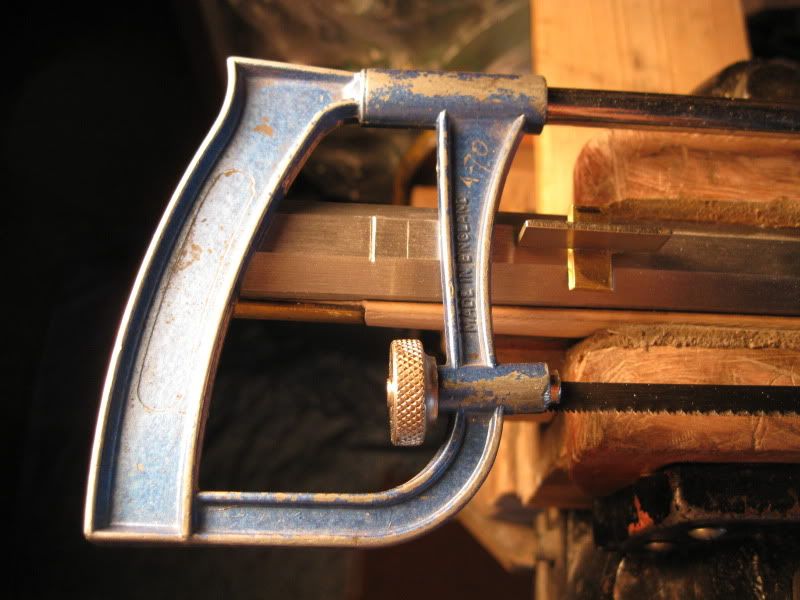
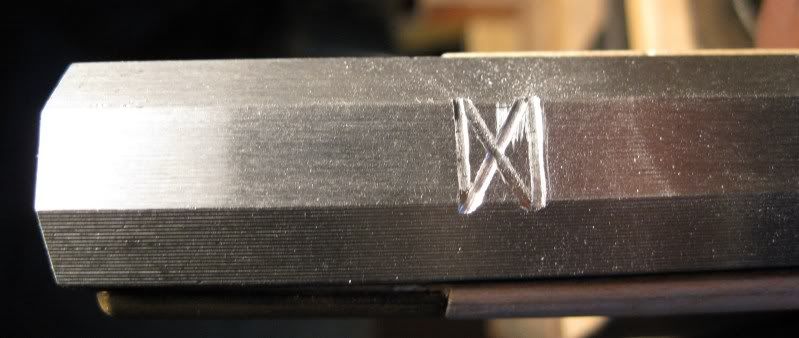
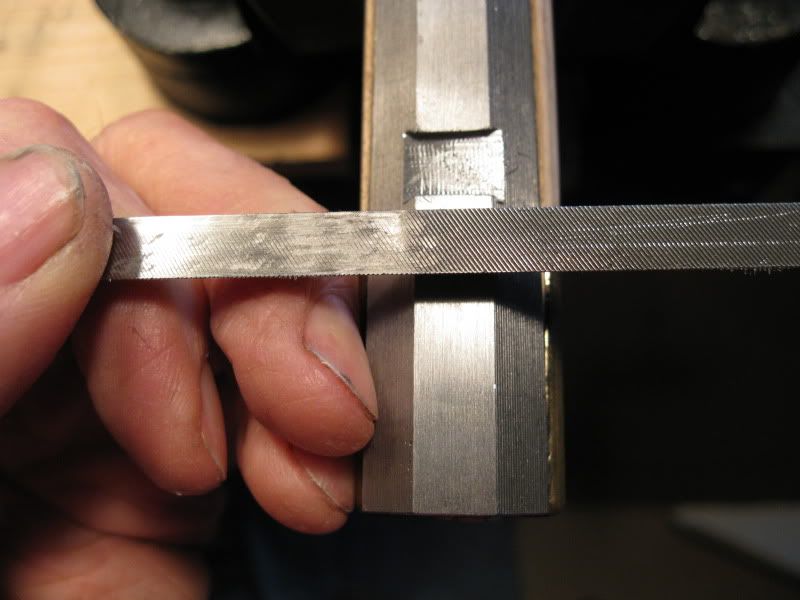
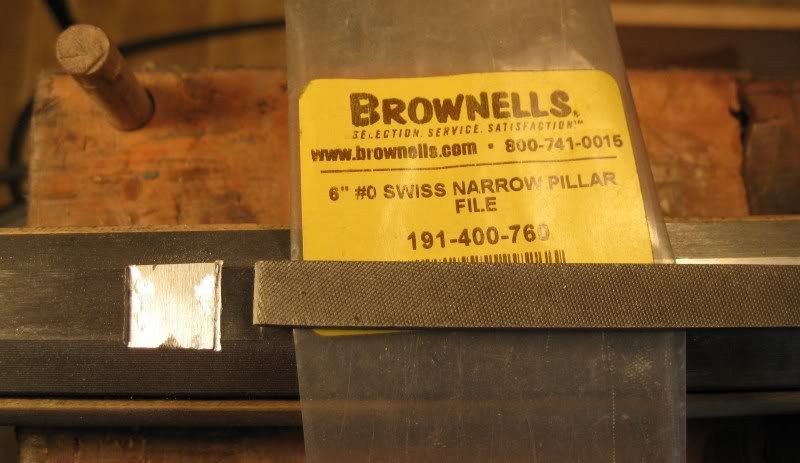
File the trough out, using the tri-file. Another one that works good is Brownell's Swiss Pattern Extra Narrow Pillar File, 8", No. 2 cut, 17/64 wide. It has safe edges and you can now true up your vertical end saw cuts, measure them for even width. Also measure for depth at all four corners. Likely one side, or both, will get lower than the middle. Here I use the edge of my tri-file to scrub front to rear on the floor to see the high spots. Then diagonally, the edge cuts well. File those marks out. When down enough, use the tri-file (safe side down) to make the undercuts. The trough is made the depth of the base below the blade, so the blade will end up flush on top of the barrel.
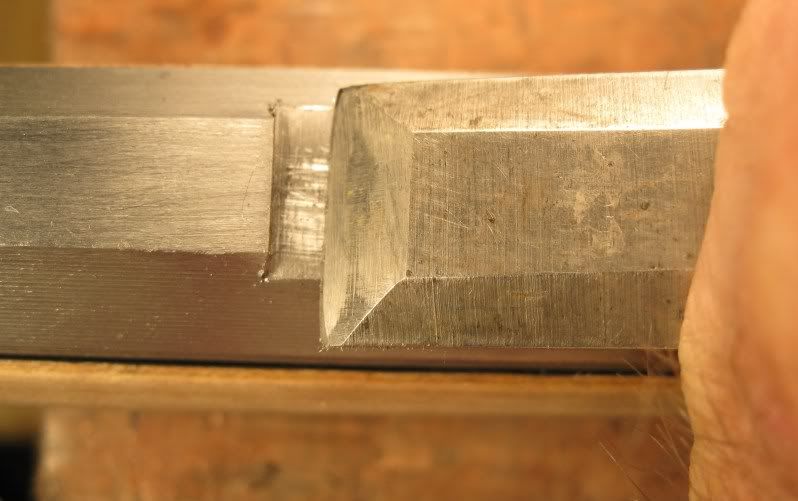
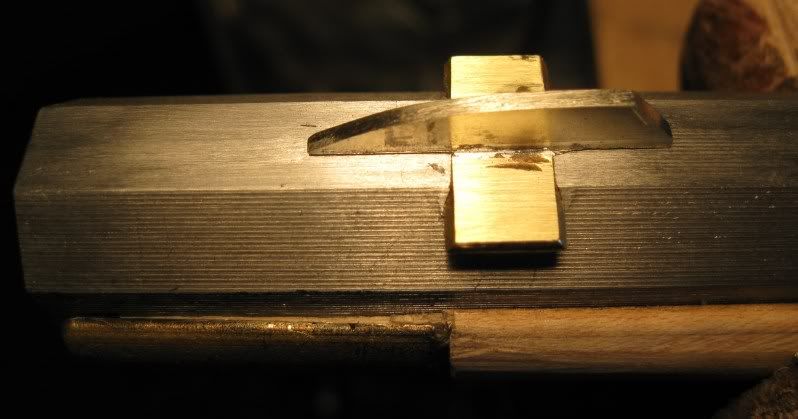
It is difficult to file that bottom angle, better to use a sharp chisel. This will pare off steel and will make a sharp angle. Use the file also. When the sight will start in, look under it. You will see daylight in the center and that the sharp edge bases of the sight are setting high. Chisel some more and lightly file the sharp edges off the base. When the sight is well started in, make sure it is deep enough so the blade will nearly touch the top of the barrel. The edges tend to hold it up. So put a piece of brass on top of the base and lightly hammer the base down into the notch. Look for daylight under the base and under the blade. I like a little taper to the base so it tightens up as it is fully in. Use your calipers.
I sawed this blank out with a jeweler's saw. I don't care much for these blanks, preferring to buy what I want it to look like. The sight will get filed down in sighting in. This blade came loose and I had to solder it.
The rear sight I test locate so it is not exactly at the carrying balance point, though that isn't really a problem. You can test position it for your best focus. I located mine 8" from the breech. Then I measured the TOP width of the sight (fore and aft) and scribed that measure across. Allow a little short for cleaning up. Saw it out as for the front sight.
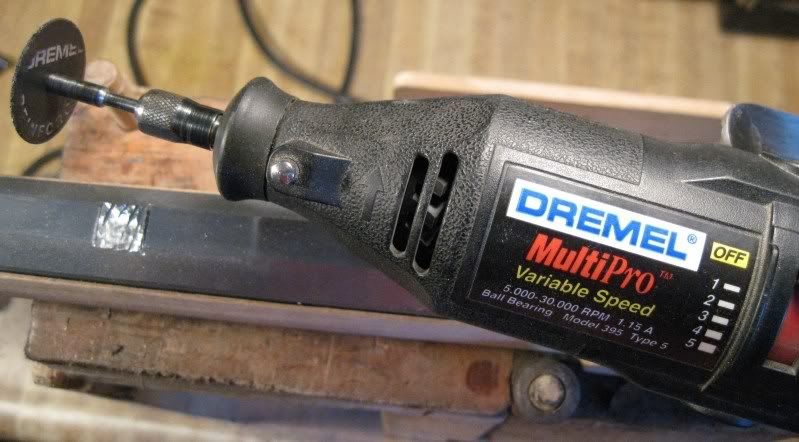
Here I use a carbide disc in my Dremel tool for cutting most of the base out. Just be careful of the square ends of the notch, and not to go too deep. Clean up with files.
Rear sight in and full down.
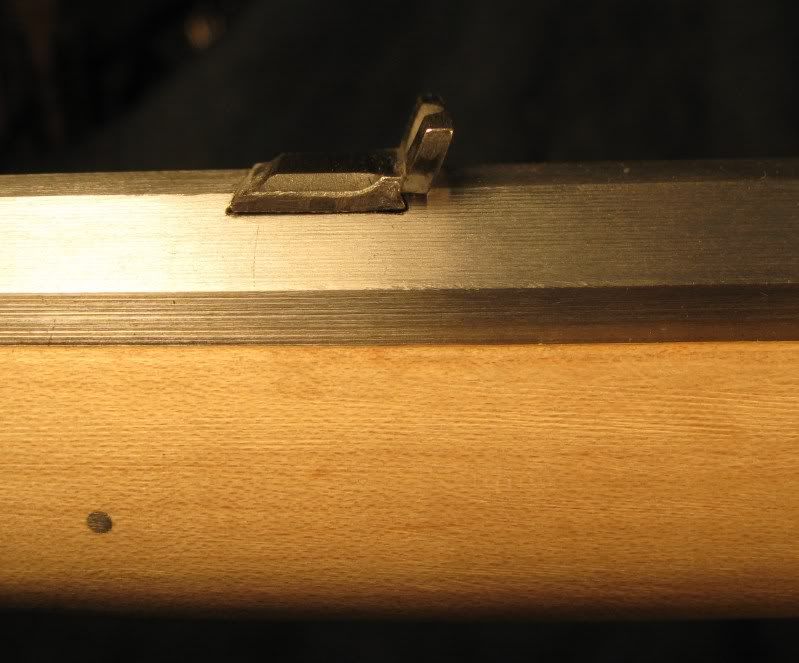
This is a notch I like. Now I will test the rifle for zero, filing the front sight down to raise the point of impact. This sight job took me about 2 1/2 hours.
