This is one way I make nose caps. A formed sleeve, with a soldered end plate. This is a little trickier than some, because of the pronounced flare of the muzzle. This requires that the sleeve be fitted to the stock without the end piece in place. It's easy to fit the end piece afterwards.
This shows a forming block with a groove to form the ramrod groove. I made this up on my mill. But a block of end-grain maple will work just fine. ( If you want a 3/8 groove in the finished nosecap, and use .05 material, the groove in the block must be .100" in diameter bigger = .475")
Always anneal the brass before forming. Once it has been worked a bit, bent hammered, whatever, it must be annealed AGAIN. I may have annealed the nose section three or four times during the process of shaping and fitting this nosecap. Anneal by heating brass to a dull red, then dunking in water.
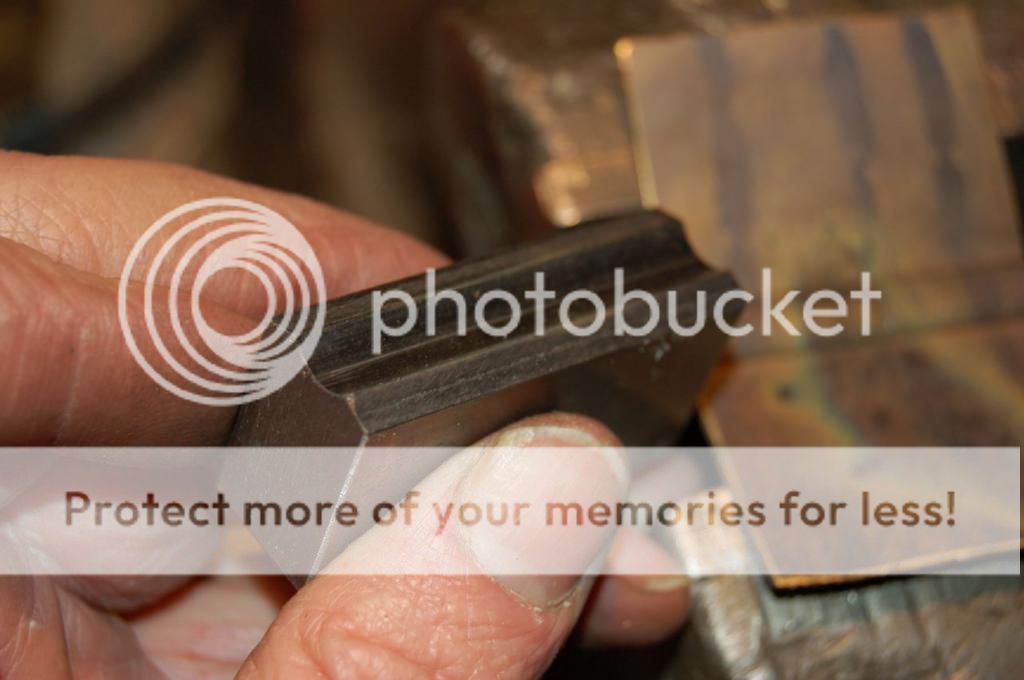
I squeeze the brass between a 3/8 rod and the forming block to make the groove, then a flat punch to bend the ears of the brass over.
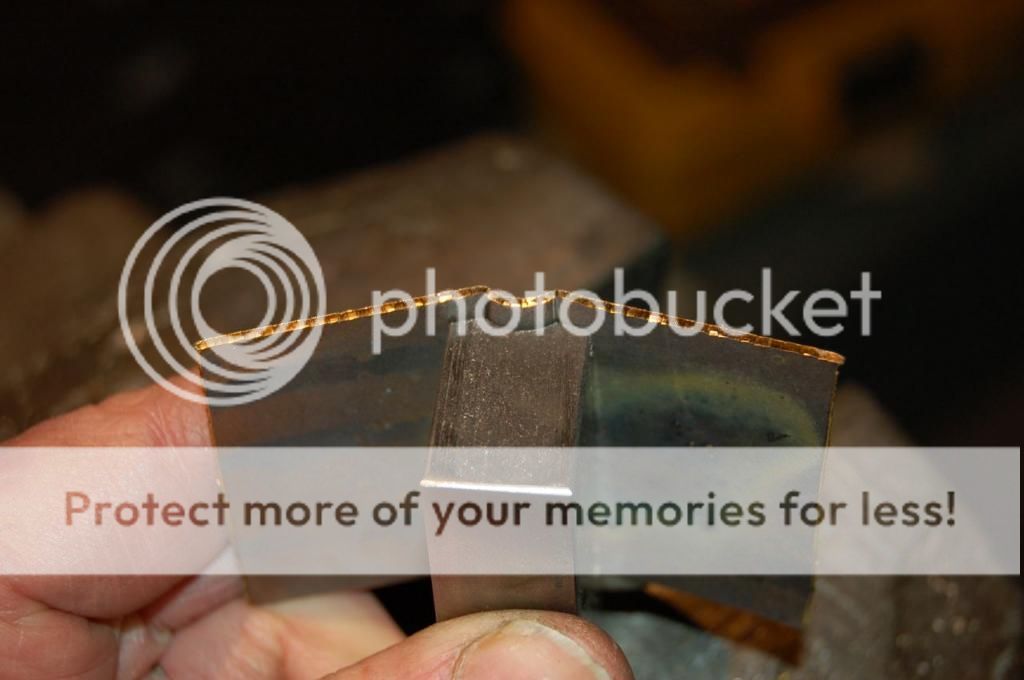
Here is the cap with the ramrod groove formed.
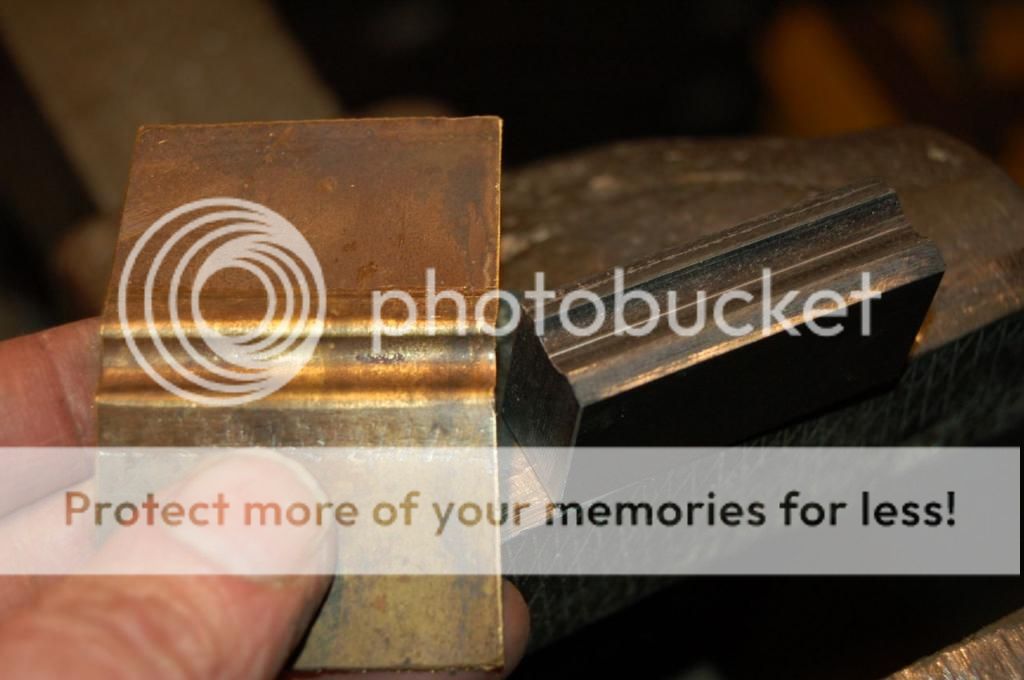
Then I make a wooden forming block that matches the contour of the rifle forestock. Anneal the brass by heating it dull red and cooling it in water. Then use the 3/8 rod and clamp the cap material against the forming block. Tap the material around the form with a soft mallet.
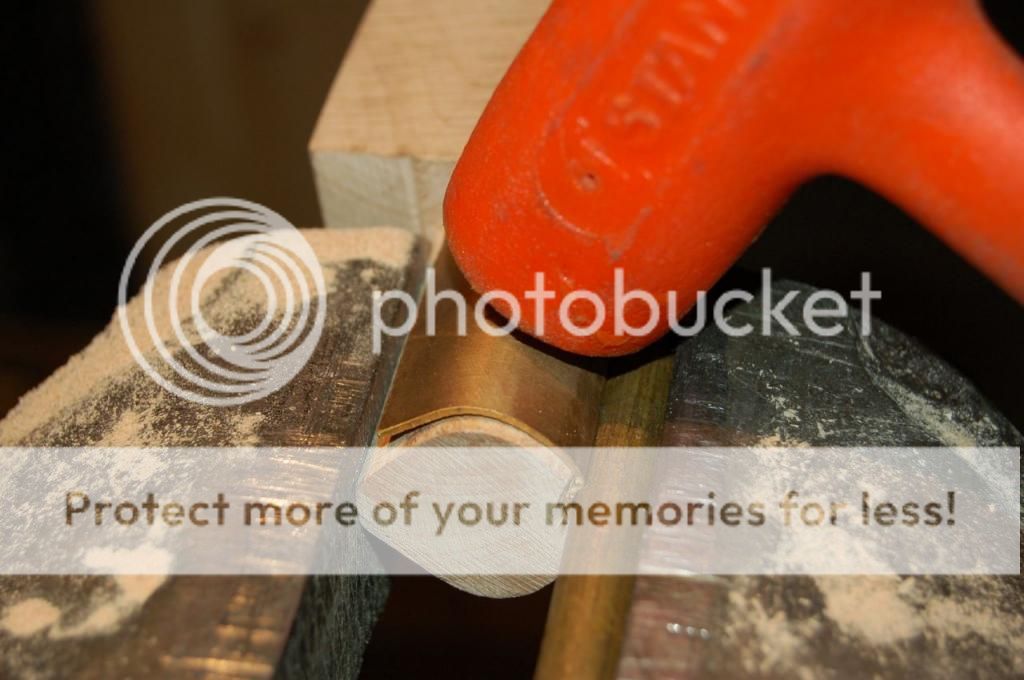
Start fitting the cap to the rifle forestock. Try the cap and remove, shape forming block if you need to squeeze the cap down more. Anneal the brass again. This keeps it from springing back when you hammer it down against the form.

I have it fitting pretty good now. I mark the top edges that are too high. Cut them down. File the inside edges to fit the barrel contour.

Make an endcap that fits the barrel. This is .05 thick material, for both the endcap and sleeve.
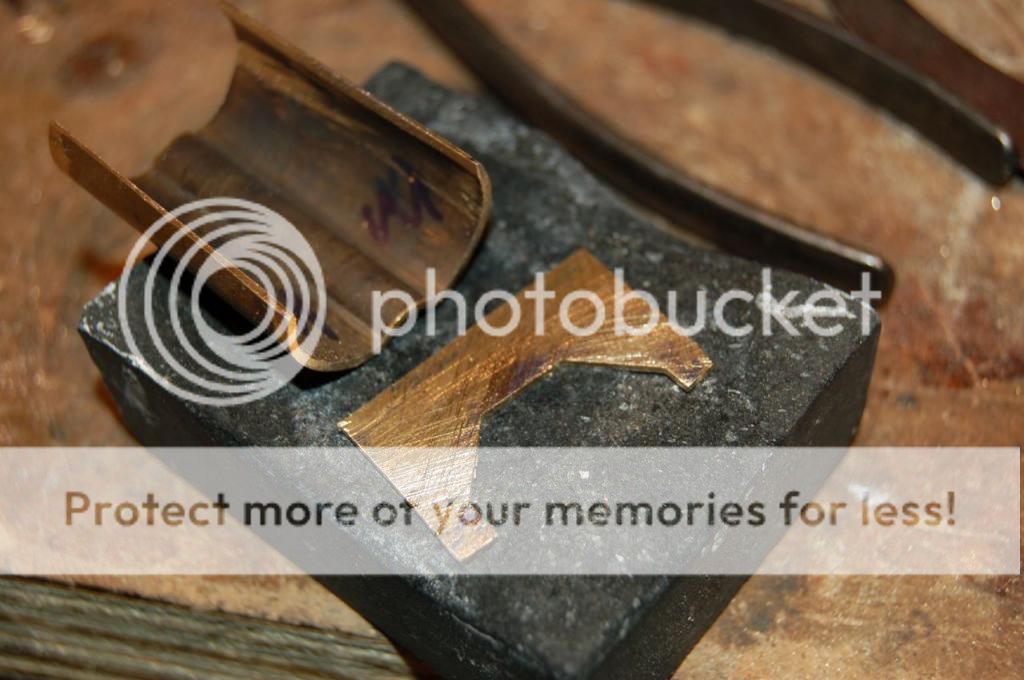
Flux the entire part, and place little bits of silver solder around the edges. The flux is wet, and the solder sticks to it, stays in place when you turn your part over.( Harris 'Stay-Silv' white brazing flux) The solder is 'medium temp' flat ribbon silver solder, from Hagstoz, in Philadelphia. They carry all kinds of jewelry tools, materials. (
www.hagstoz.com/)
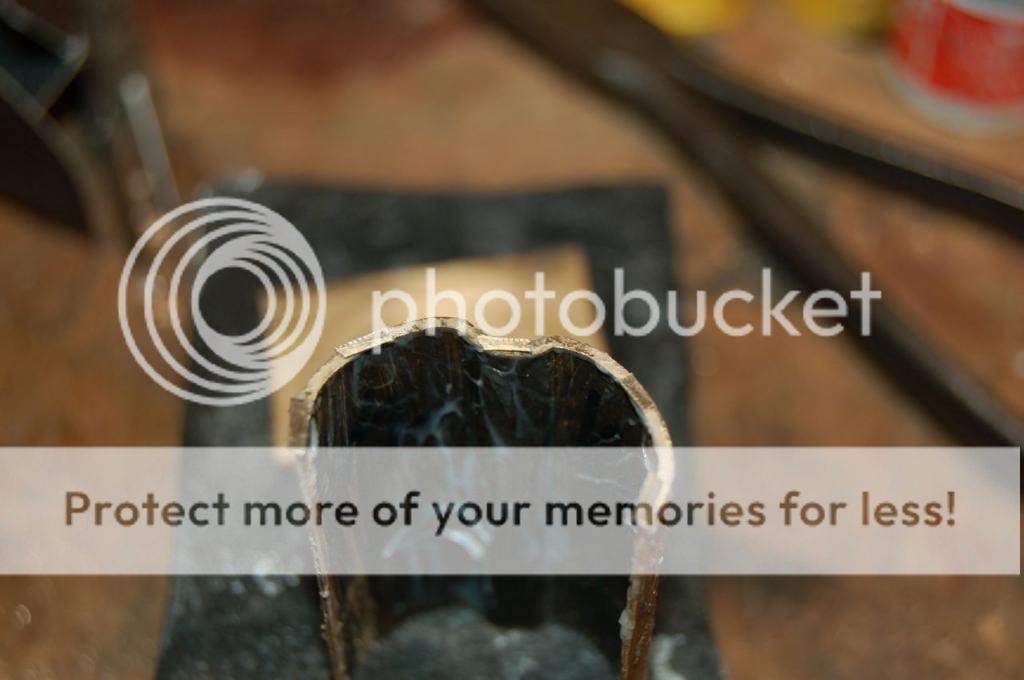
Position sleeve on end plate where you need it. I have this plate already fitted to the barrel. It's set up so that the plate is centered in the opening of the sleeve, and the top edges flush. Note the iron wire under the part, to promote even heating under the part.
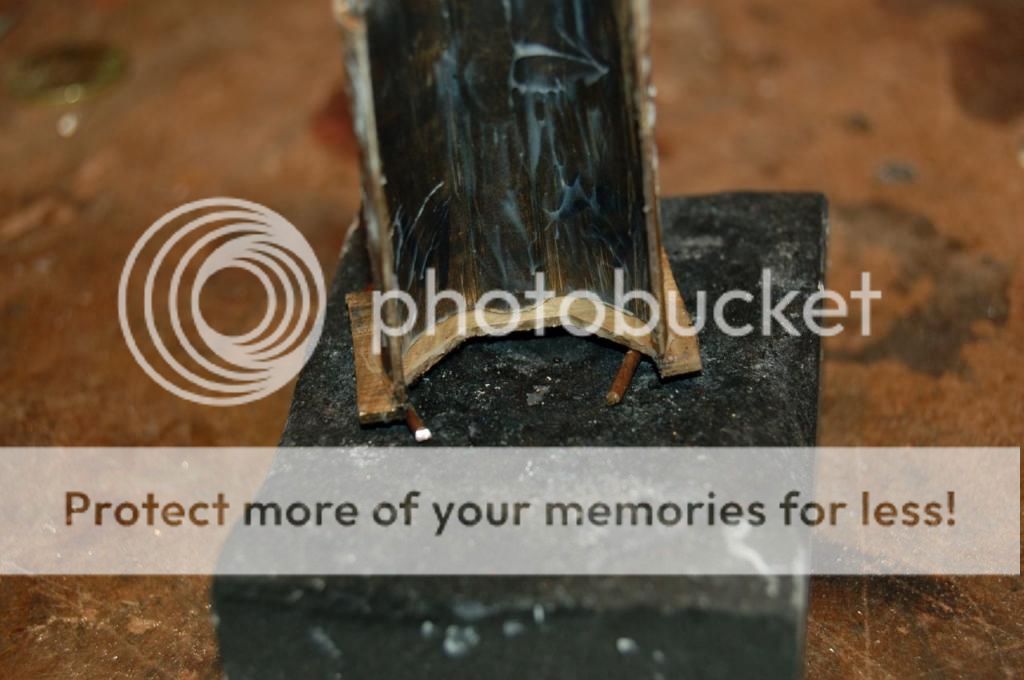
Heat very slowly until flux dries. Too much heat too fast causes the flux to steam, and then the parts jump around, losing their alignment.
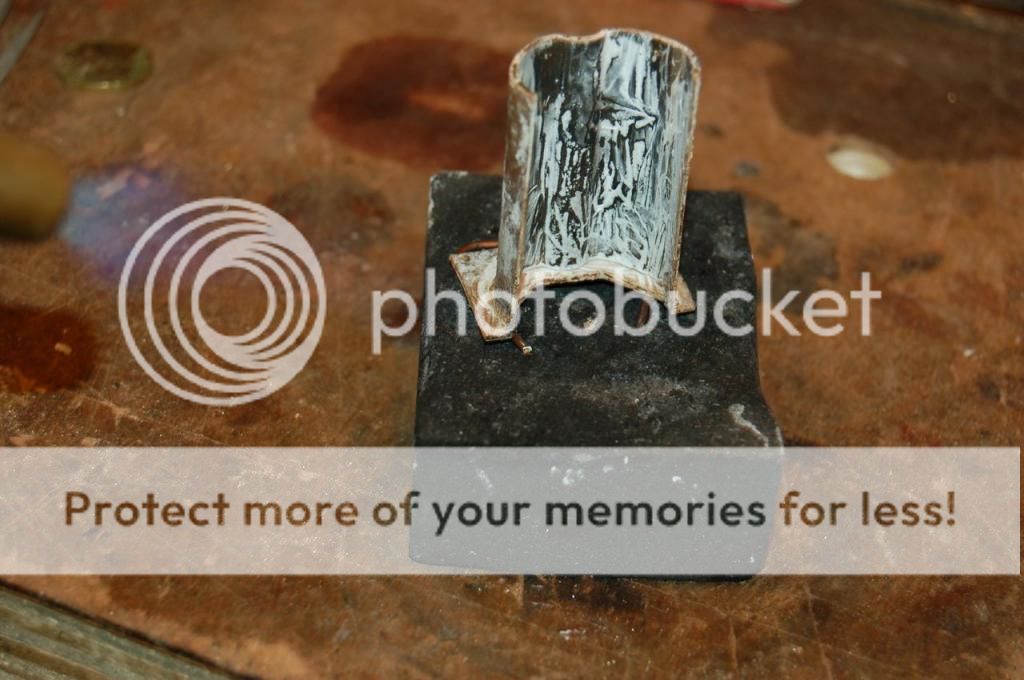
Bring up to heat and watch the solder. Once it flows, remove the heat. Flux too hot bakes on, and is very hard to remove.
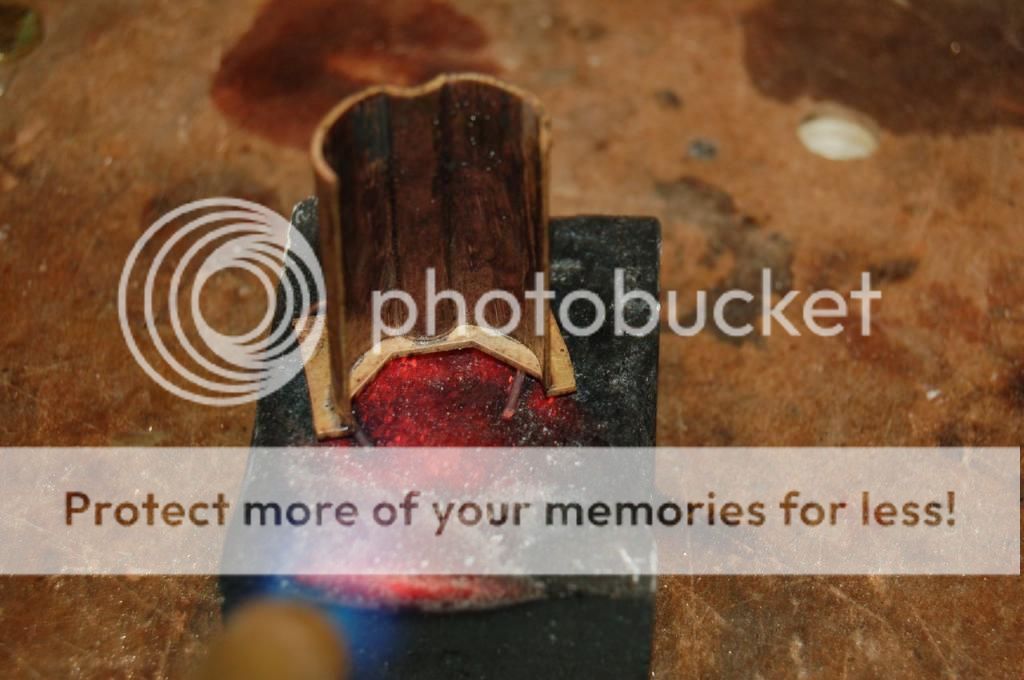
"pickle" the part in hot vinegar. Flux just dissolves, leaving a clean part.

Note lovely joint, a slight radius of solder between the two parts.

With a jeweler's saw, remove excess stock.
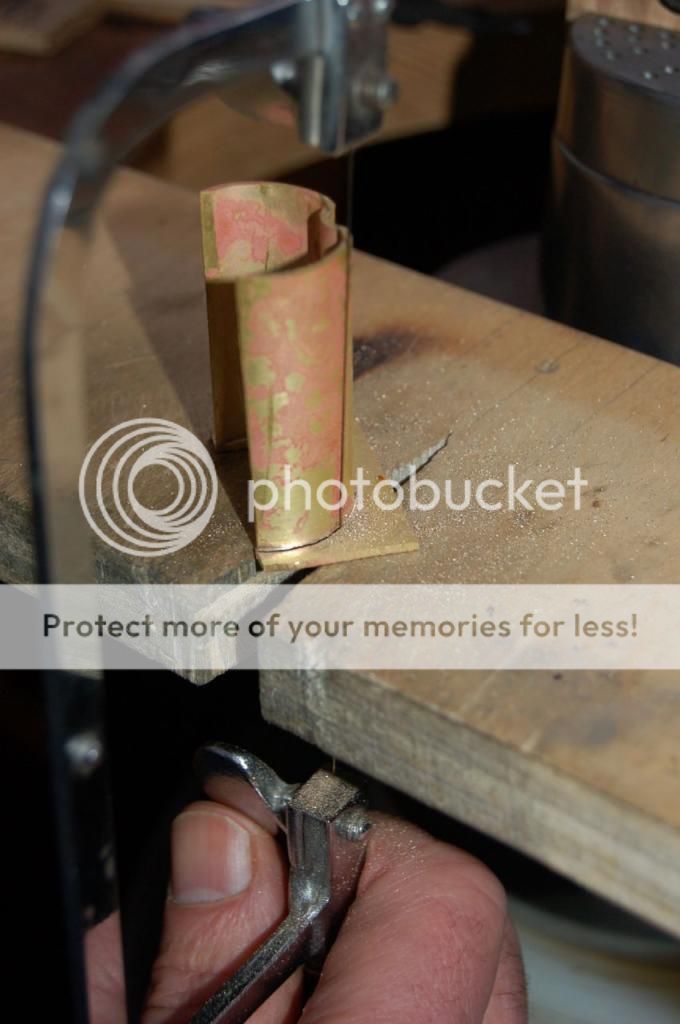
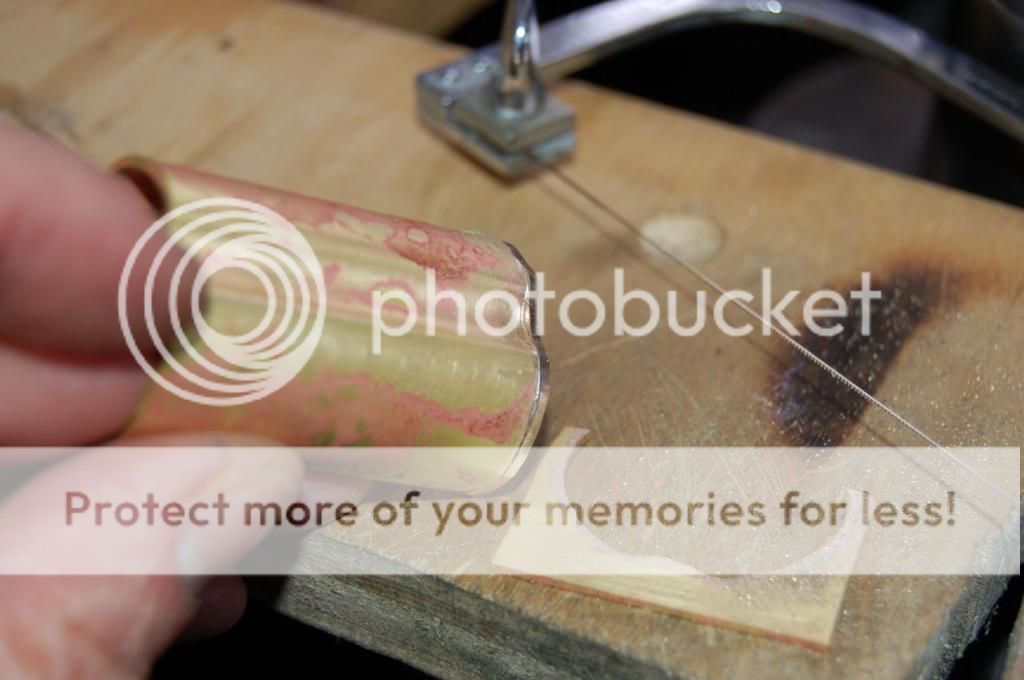
Refit cap to stock, with barrel.
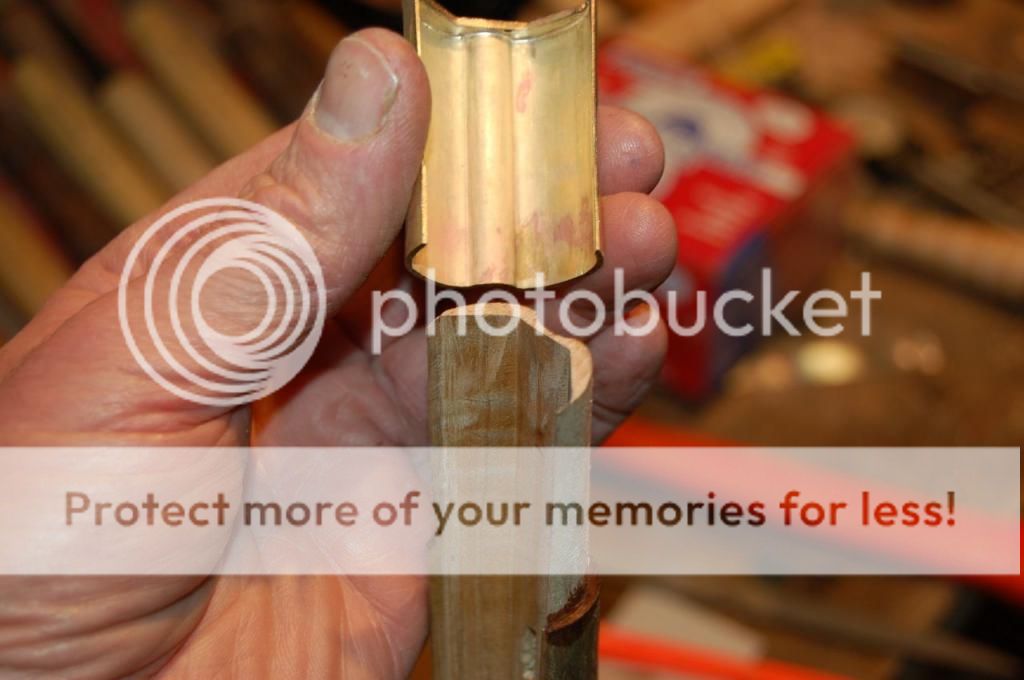
Once happy with fit, permanently affix to stock. I use accraglas epoxy, then rivet it. Epoxy is not traditional, but I like to use it for this delicate region.
Later on, the outside of the cap and the wood will be filed together to get matching contours.

