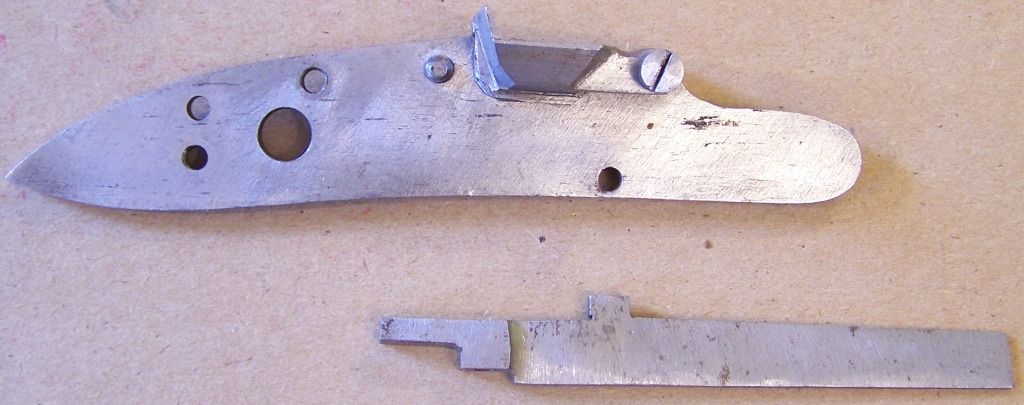
This process starts with 1095 spring steel, 1/4 inch thick. The first three photos show the rough blank and the semi-finished blank with the screw hole drilled (in this case for a 0.173 dia screw), the decorative end tab, and the pivot pin. This work was done with hacksaw/files, but forging could also be used. At this step the rough blank is slightly tapered and a good bit longer than the anticipated final spring length.
[URL=http://s1137.photobucket.com/user/JamesEverett/media/In%20Process/100_5936_zpseeb7f94d.jpg.html]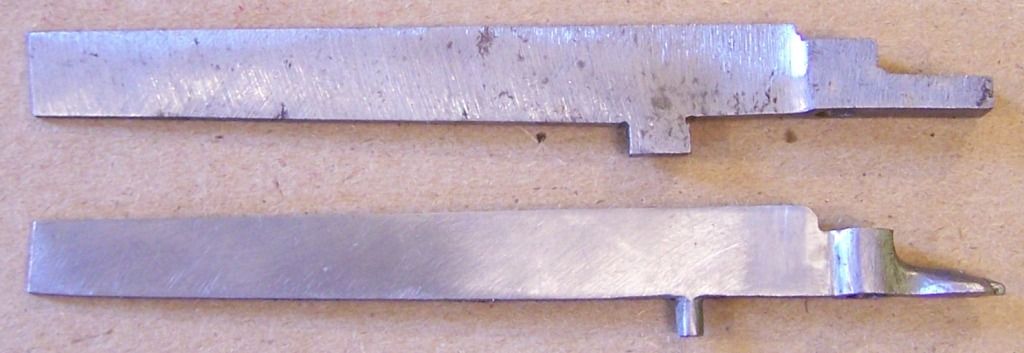
[URL=http://s1137.photobucket.com/user/JamesEverett/media/In%20Process/100_5937_zpsa3c12c27.jpg.html]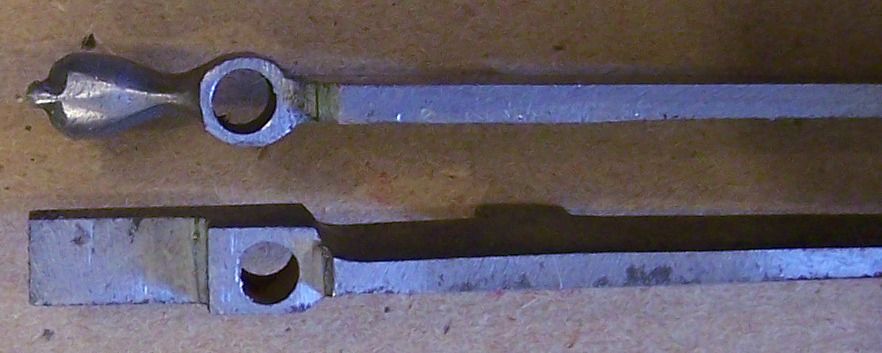
Now the spring is installed on the lock plate (before bending) Use a long screw from the lockplate backside to locate the position for drilling the spring pivot hole. When finished, the straight spring sticks way out beyond the lock plate.
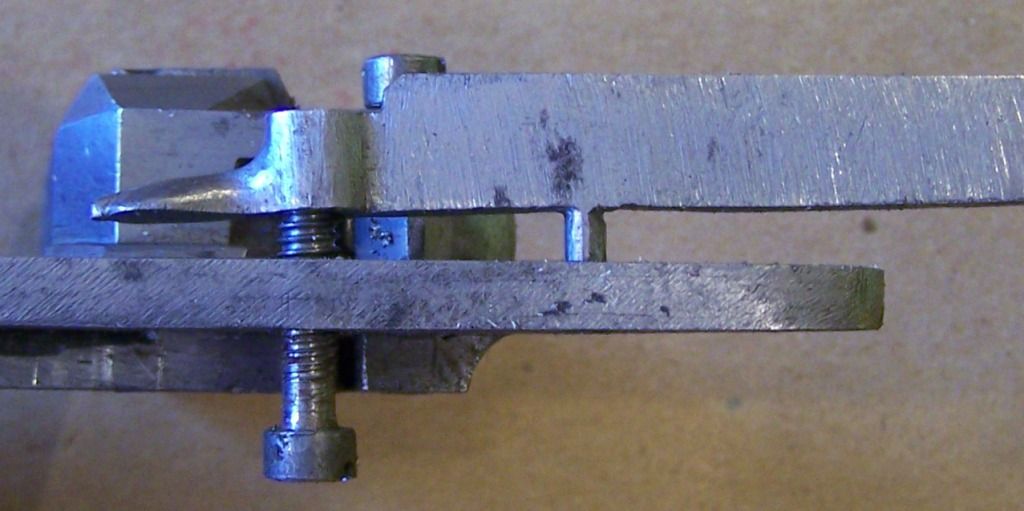
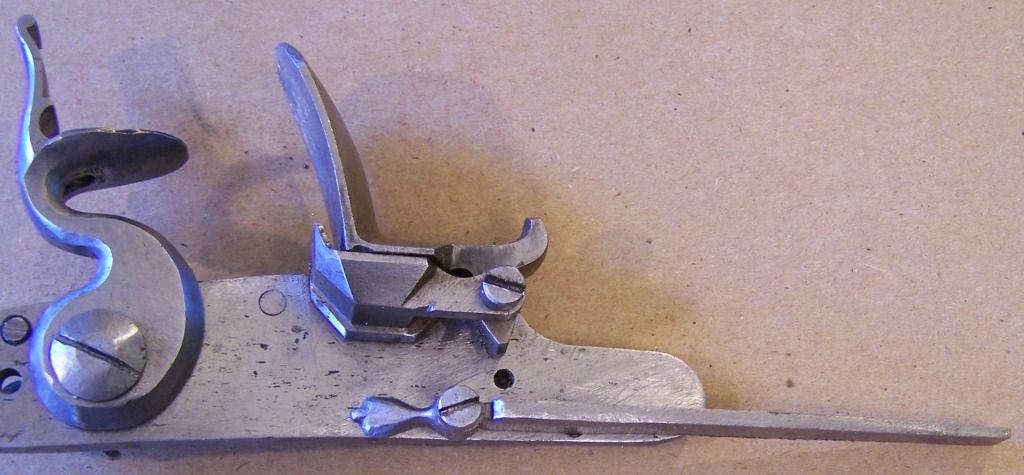
Now make the hot bend with a generous radius that fits artistically with the lockplate nose. Now is the time to trim the length of the spring back to the proper length. Notice that the spring appears to be way too thick, and there would be required a slight compression of the spring to install the screw.
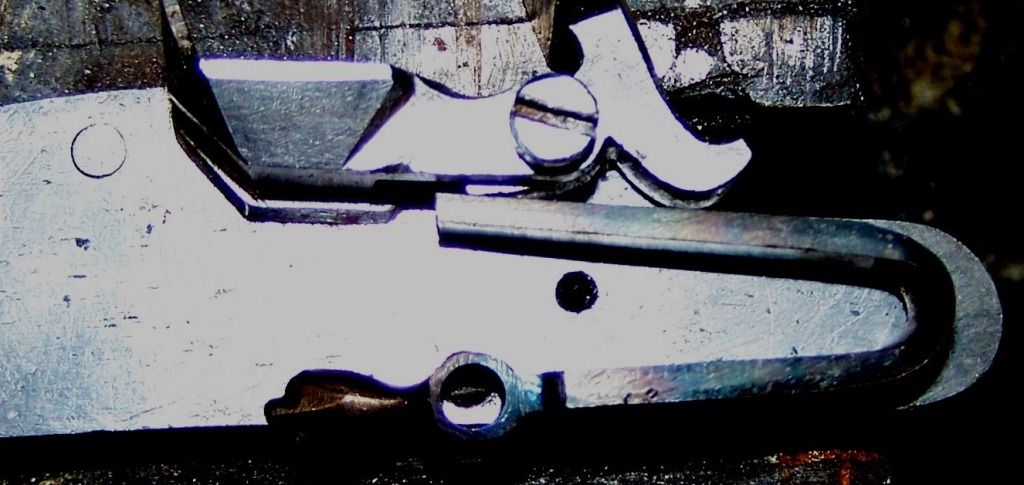
After this, taper the spring to near the final dimensions and add the decorative edge bevels. Heat treat the spring - I use a bright cherry red brine quench followed by a temper at 810F.
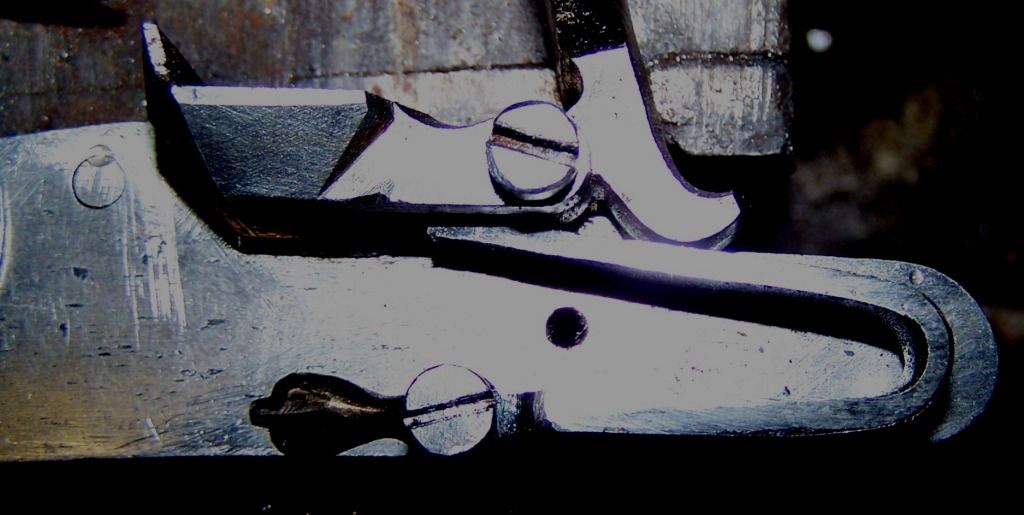
Now is the time to adjust the final spring tension on the frizzen by polishing/tapering/thinning the spring or by reducing the cam toe on the frizzen. Do this gradually as you can easily reduce the spring tension, but putting it back is another story.
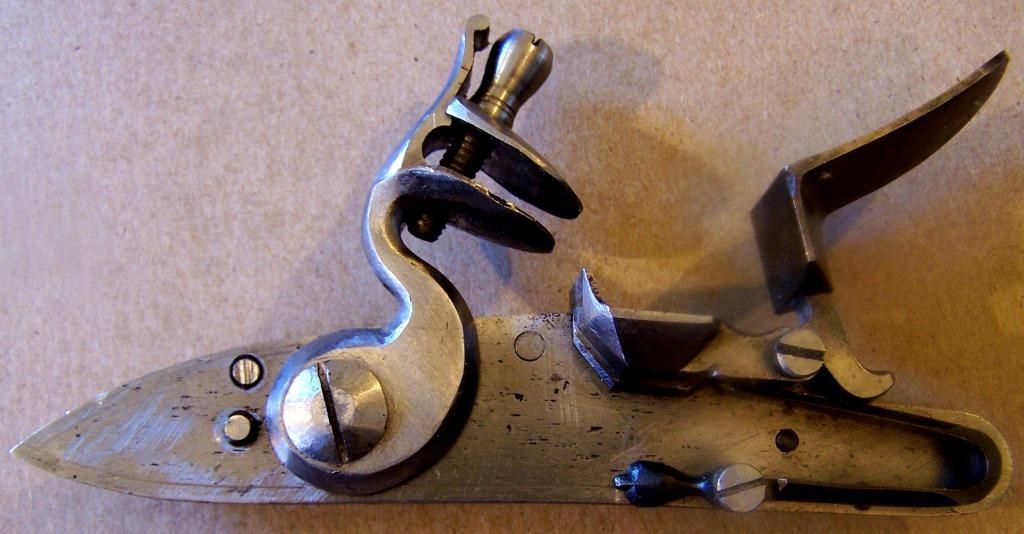
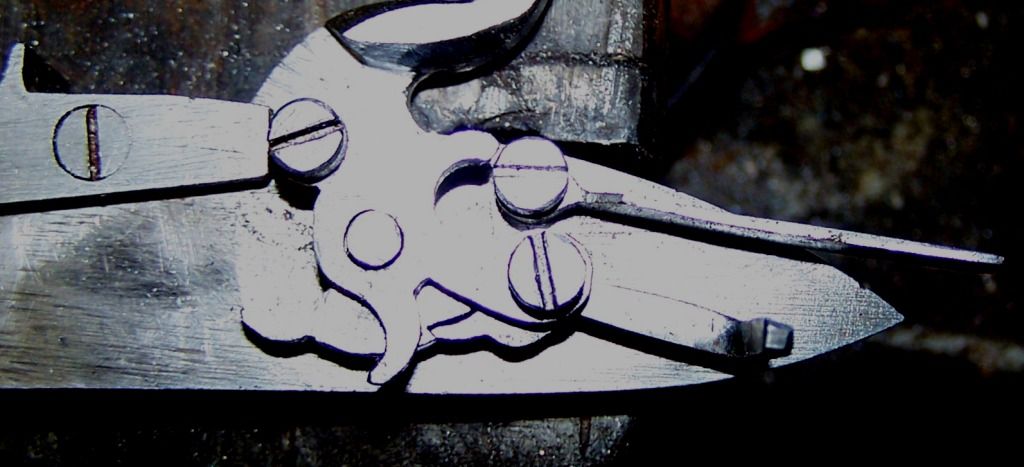
The final step is to round/bevel the lockplate to make it pretty, usually the bevel will stop at the frizzen spring, depending on the artist. Here is the final lock.
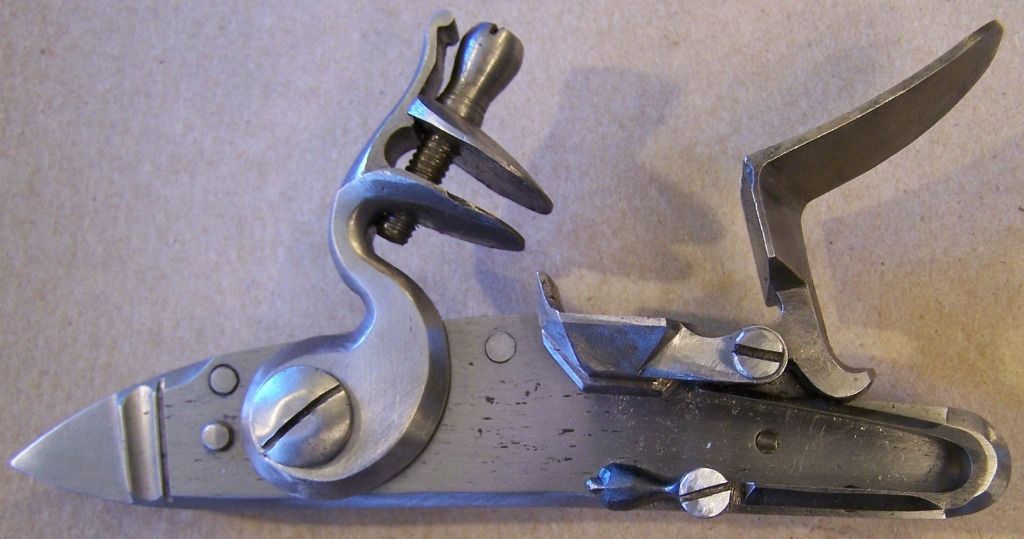
As a final note, the sear spring is done the same way, that is bending after the initial fitting and later cut to length.
